Camp Maisonette
How to Tie-Dye With Your Kids (And Actually Have Fun!)
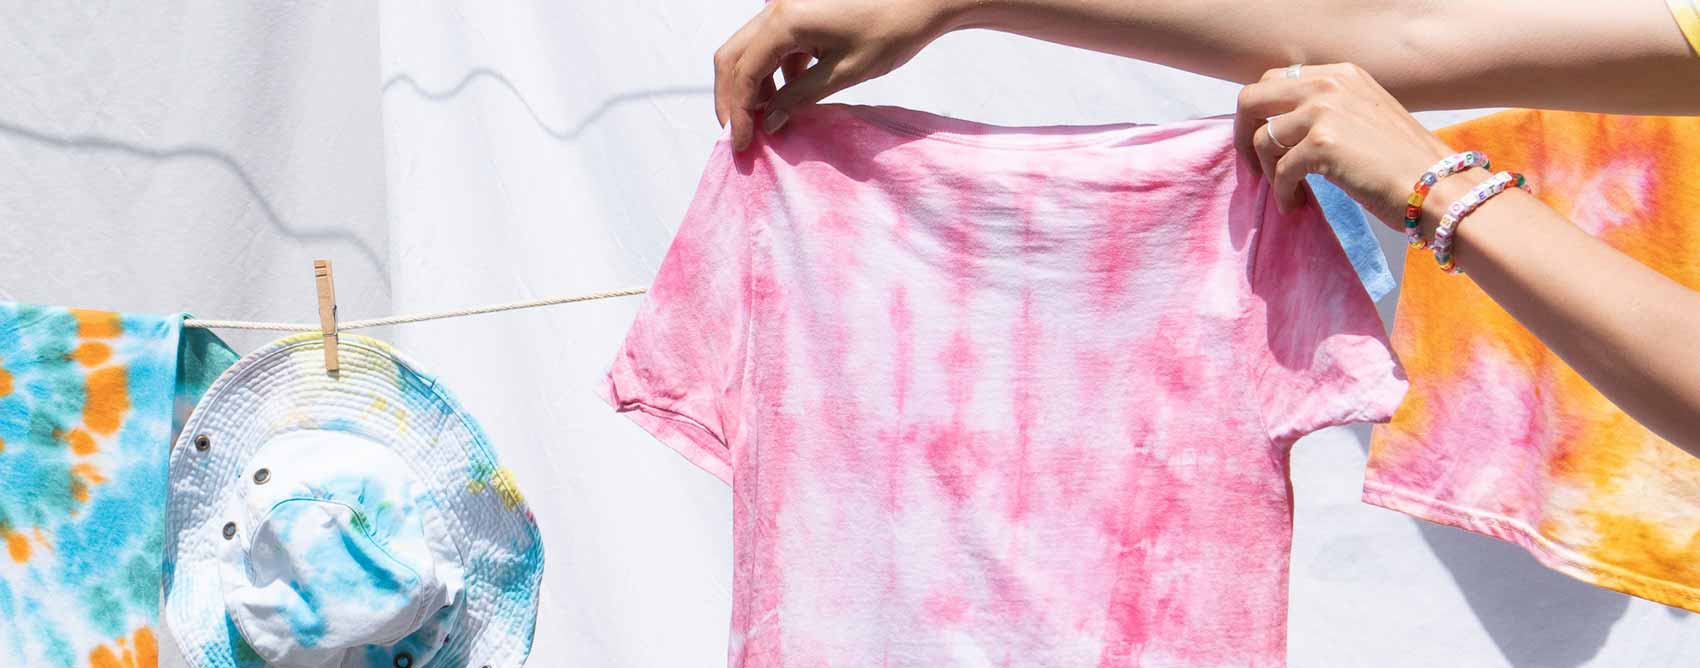
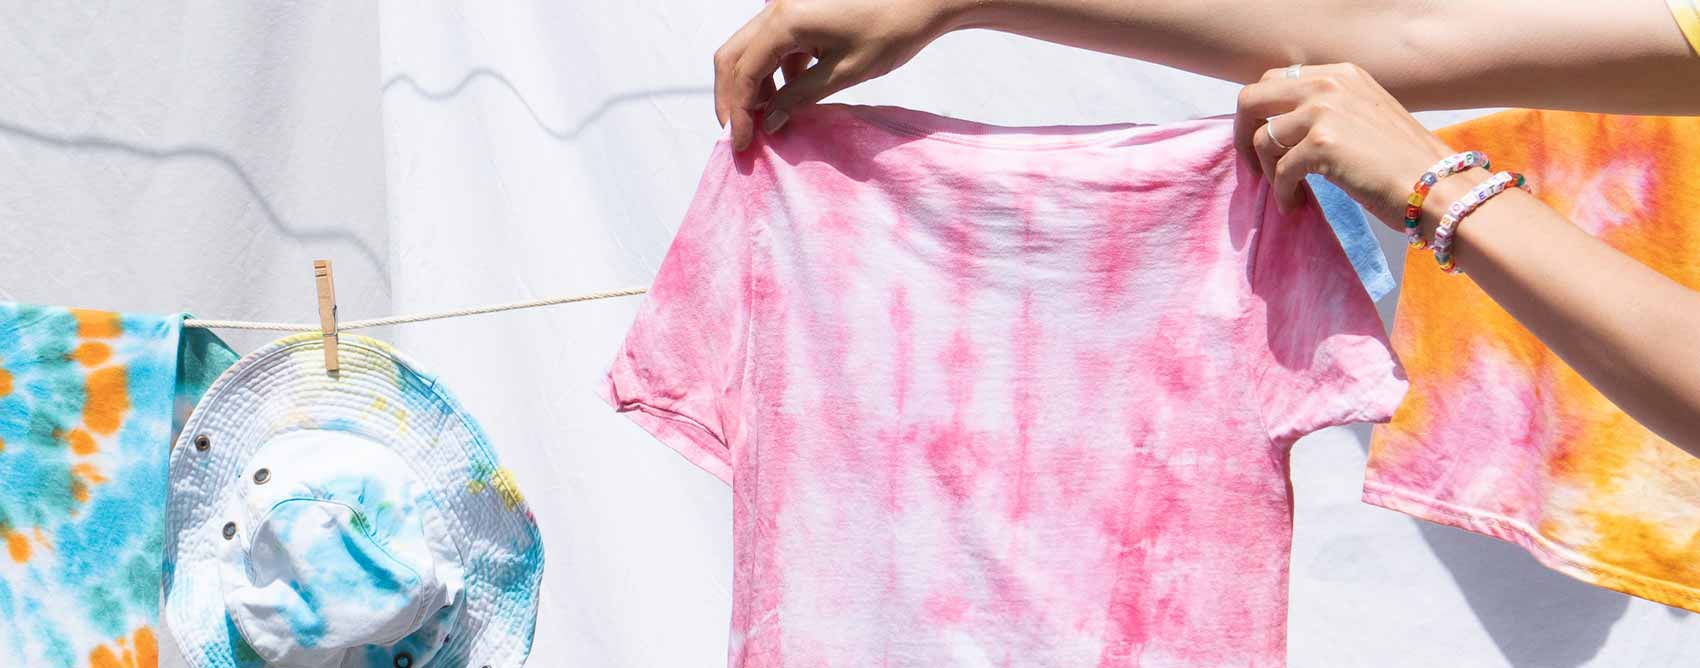
It doesn’t get more “classic camp” than tie-dye! These simple instructions will guide you to create some beautiful pieces--and have fun in the process.
- Written By
- Sally Voyles
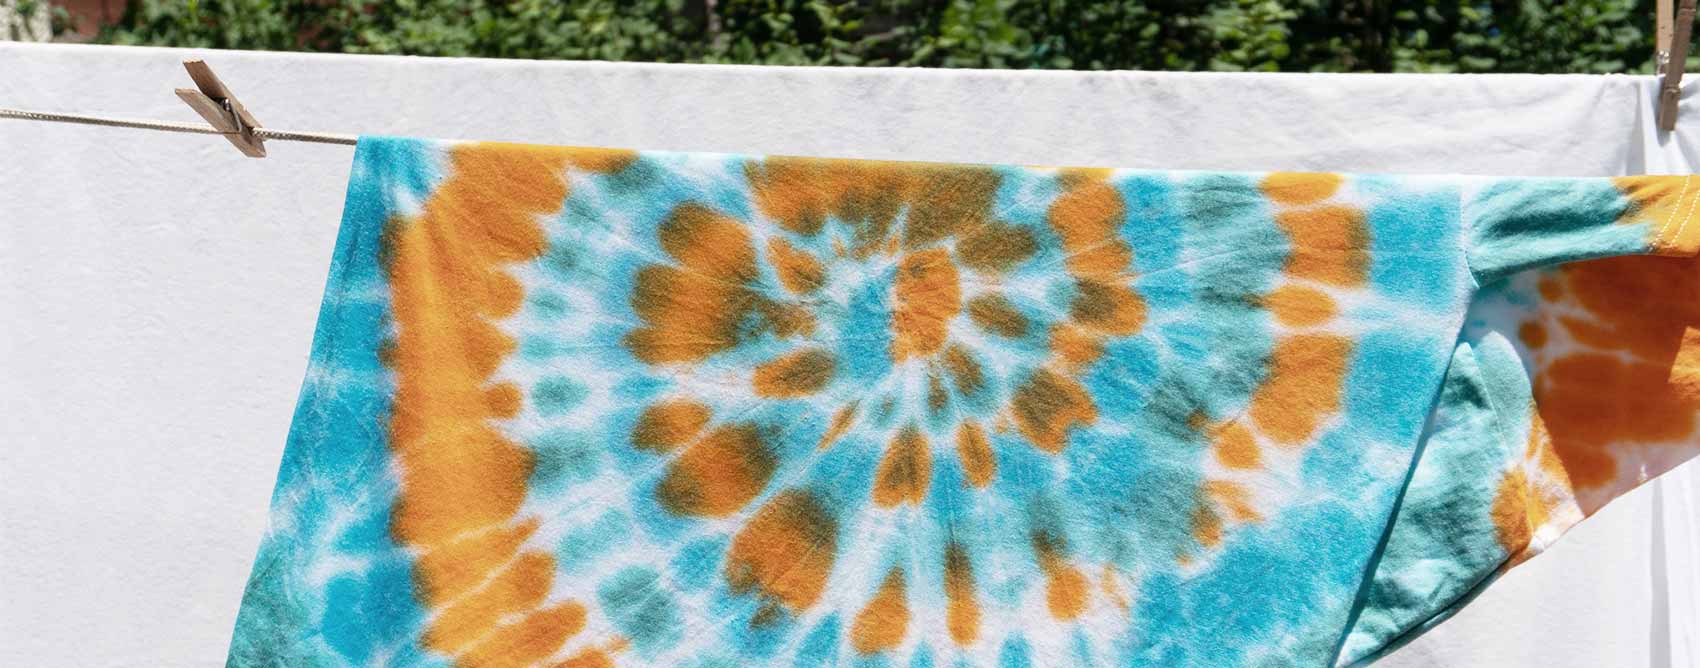
Classic Spiral
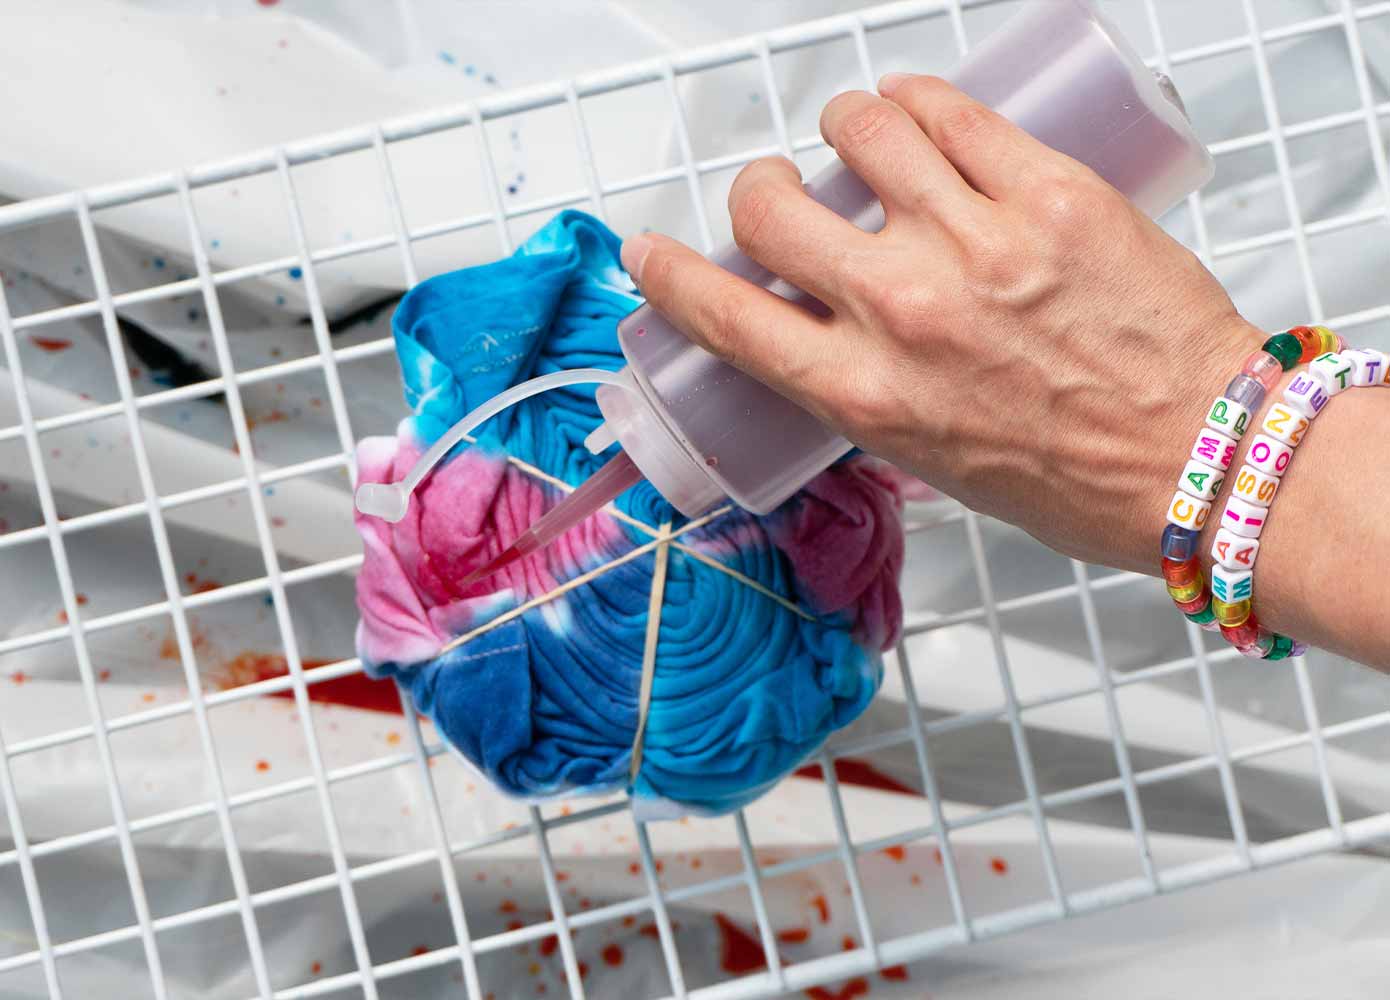
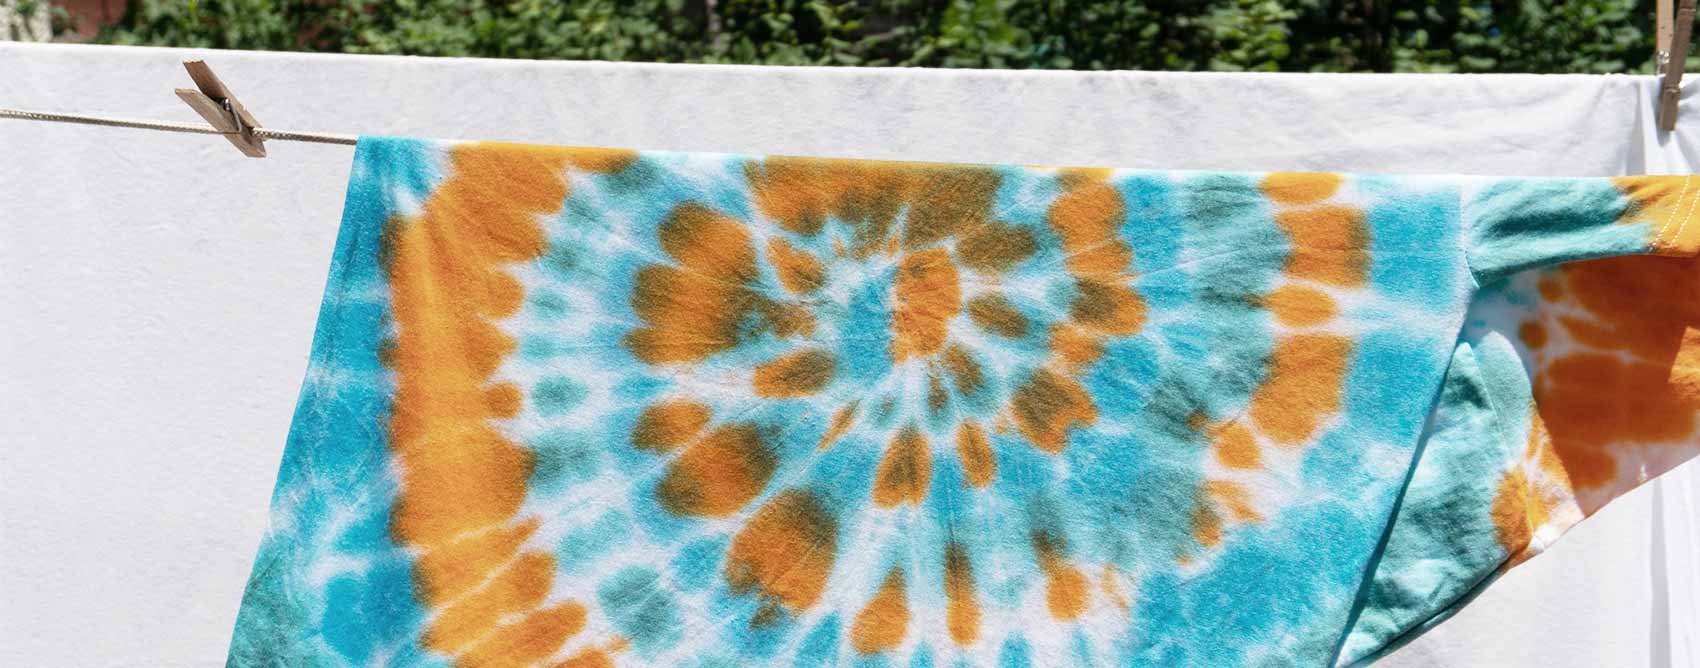
Place a finger down where you want the center of the spiral to be. Slowly and carefully spiral the material around until you have a flat disk. Use rubber bands to hold the spiral together. Then use prepared squirt bottles of dye to add color. Don’t forget to do both sides!
Ice-Dying
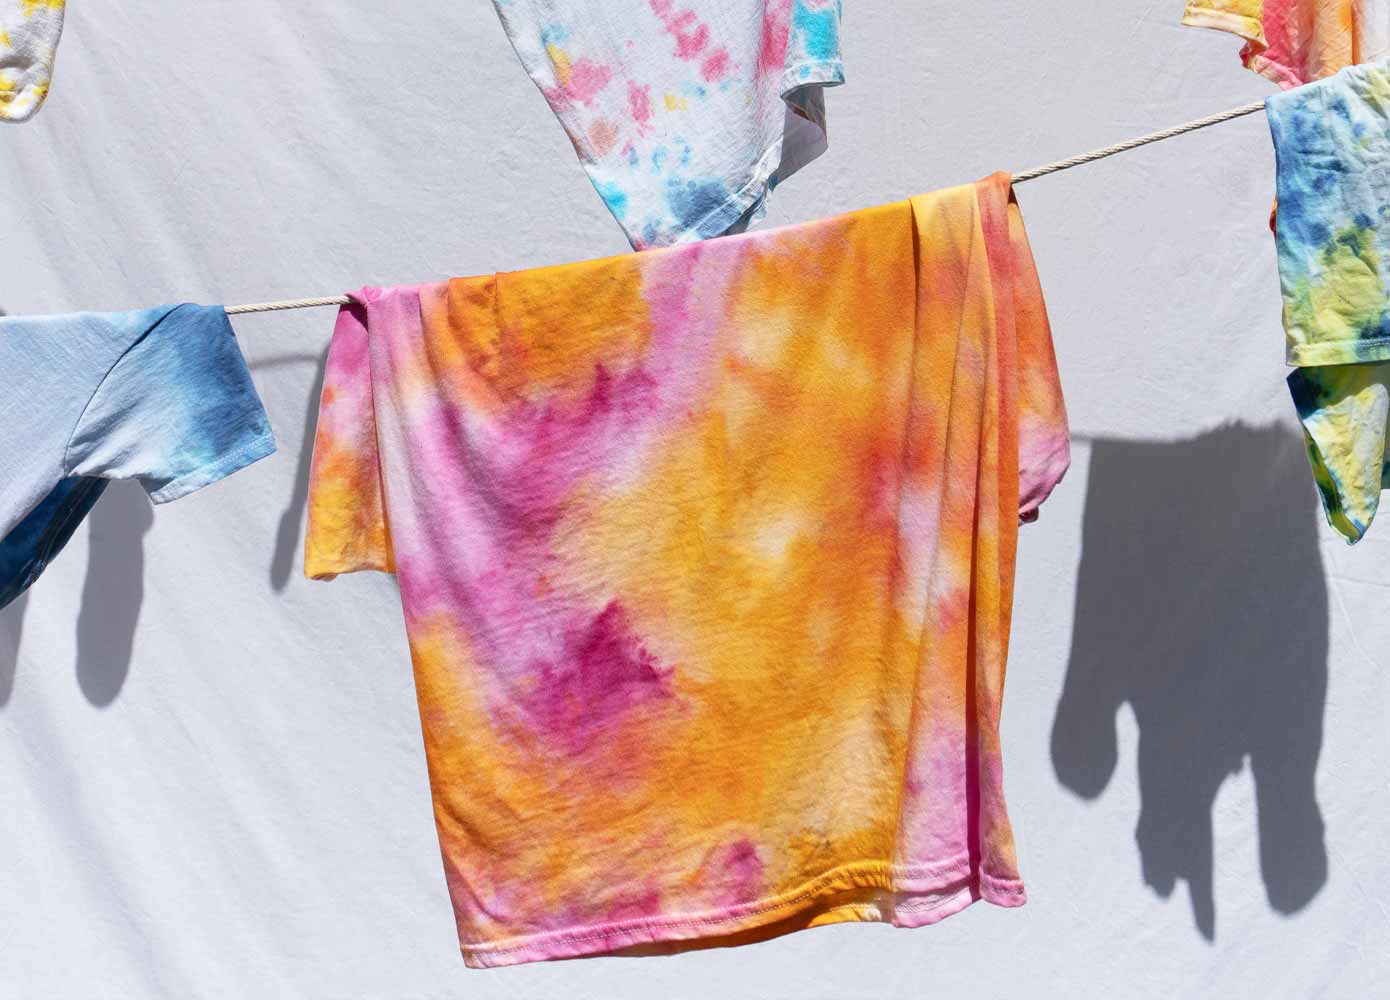
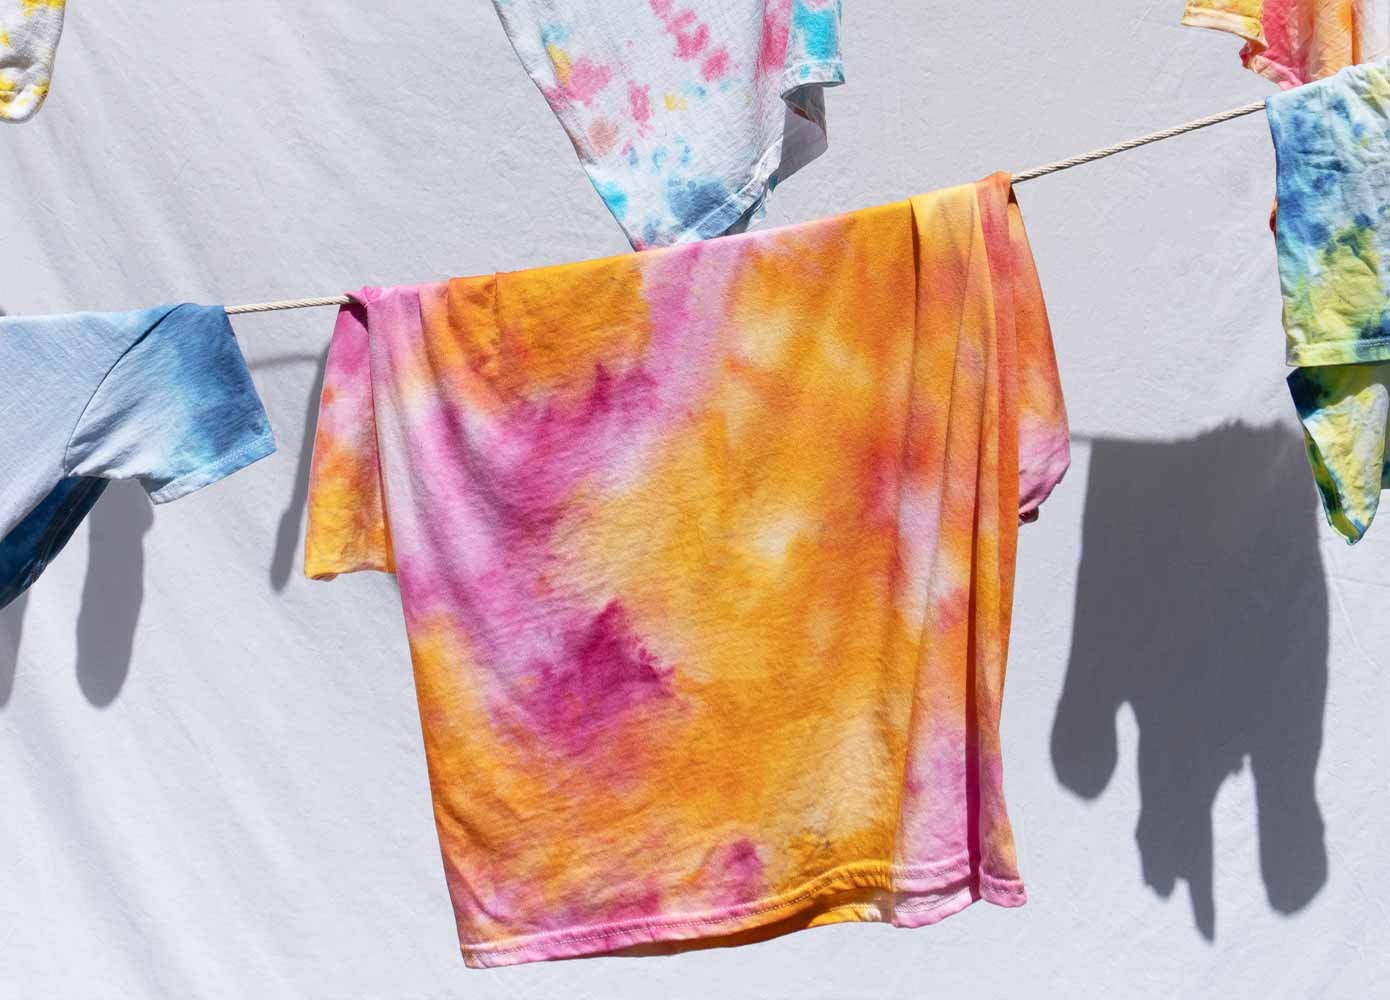
This technique requires a bit more patience—you have to wait for the ice to melt—but uses powder dye instead of liquid, which may be a bit easier to contain. Wet your fabric, scrunch it up into a ball, and then lay it on a baking or drying rack set on top of a sheet pan or bucket. Cover it completely with ice, use a spoon to add powdered dye on top of the ice, and then let the ice melt completely. Set the dye according to instructions (often in the microwave or with a dye fixer).
Ombre Effect
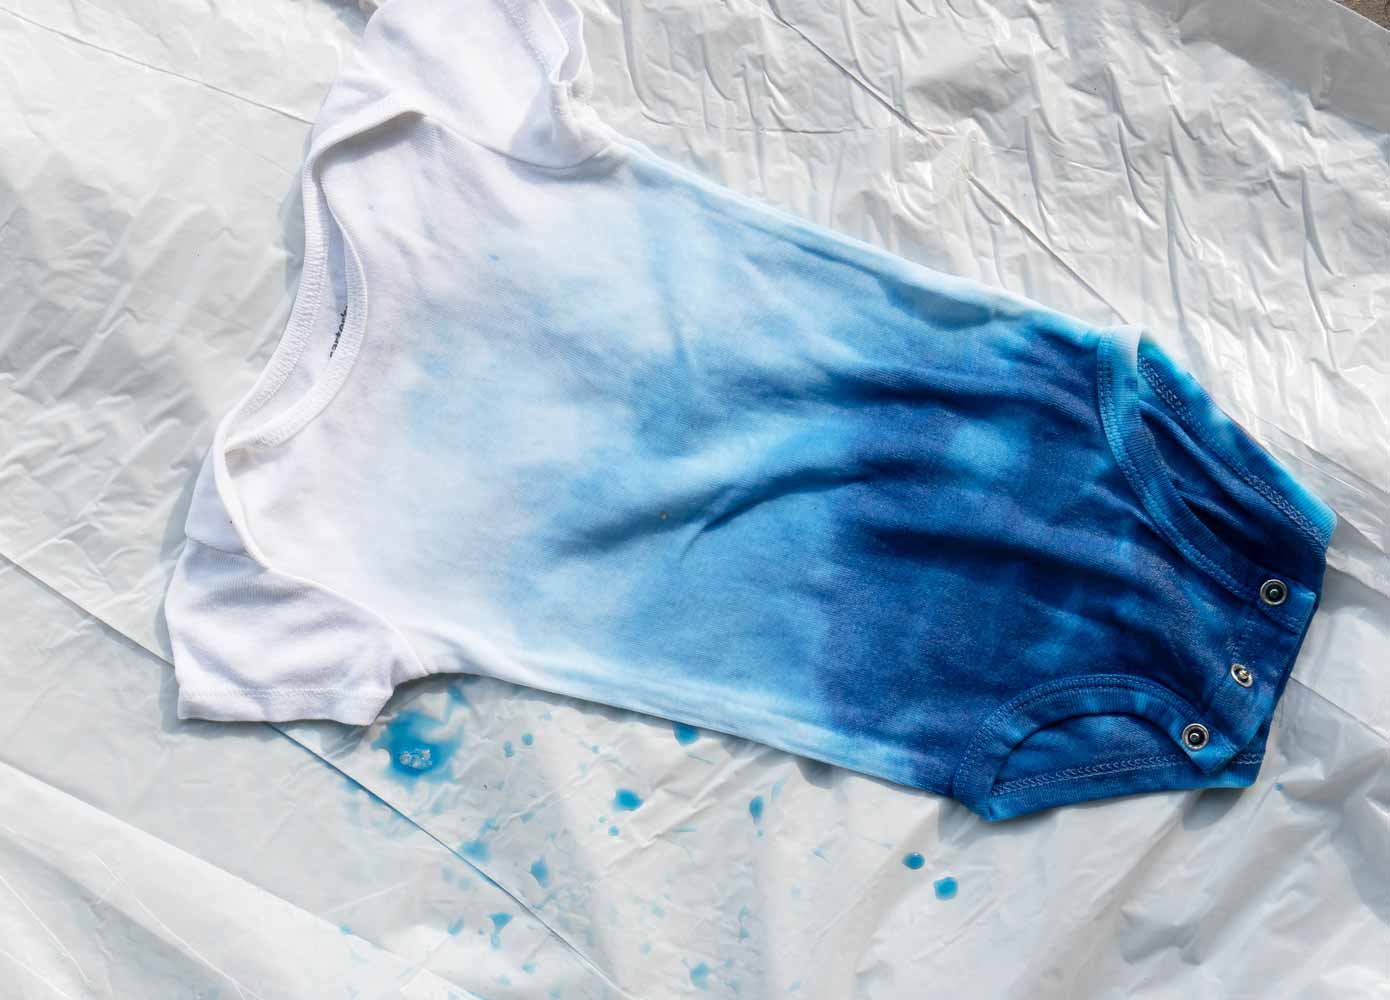
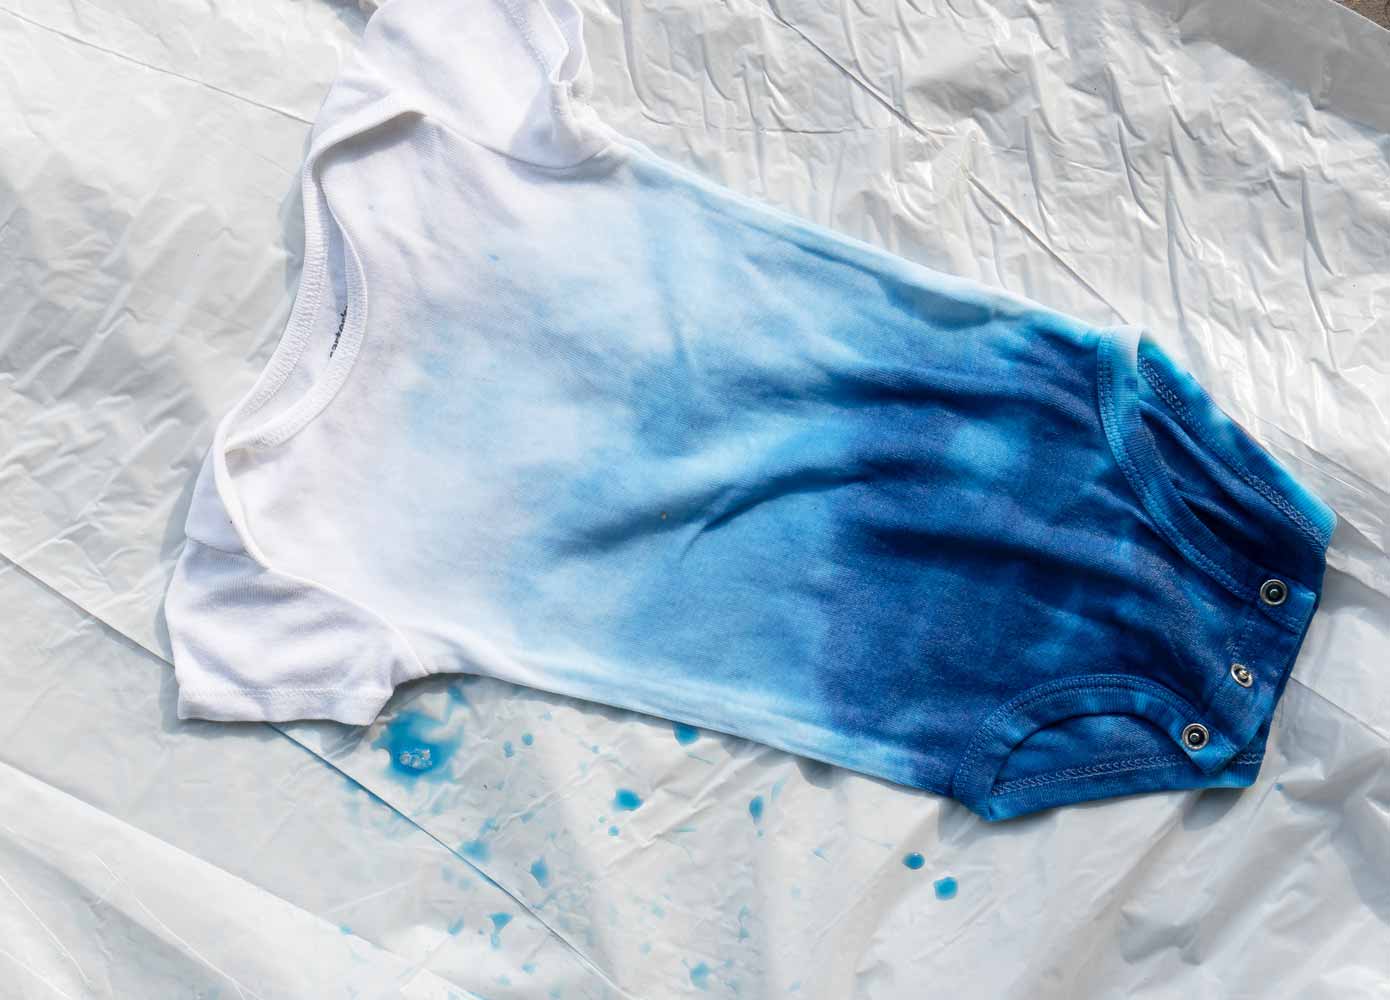
Dampen your fabric. Once your garment is ready to dye, use a squirt bottle to add dye to the bottom hem (or wherever you want the darkest color to be). Then use a paintbrush dipped in water to brush the dye up or down. This will spread the color, lessening it’s intensity as you move away from the spot where you added the dye.
Crumple Technique
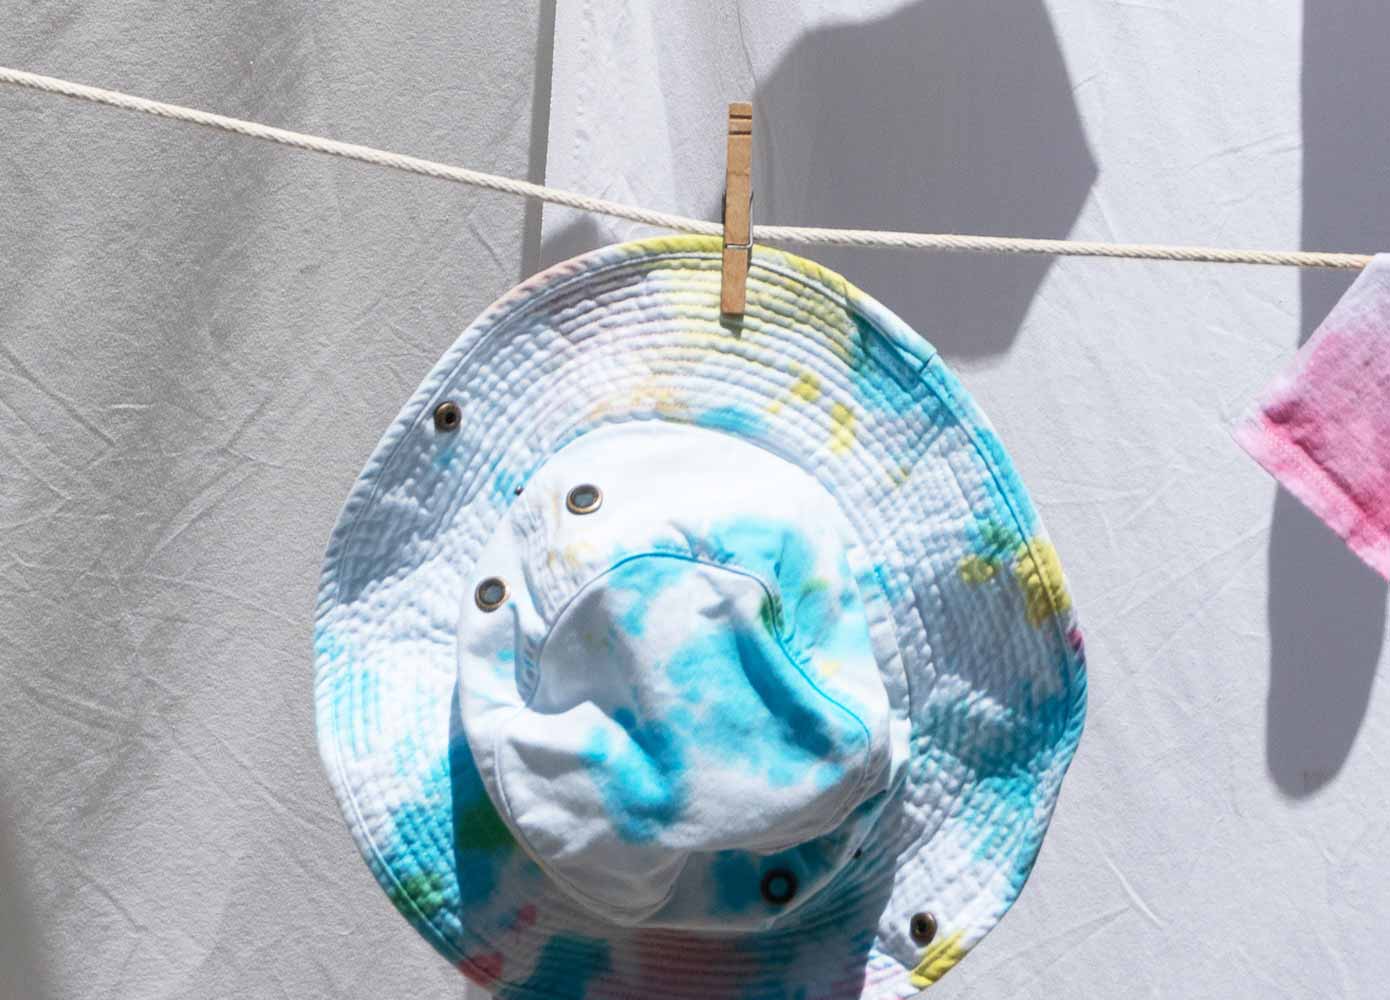
This is similar to the spiral described above, but doesn’t require such precise folding. Simply crumple your fabric into a flat disk, as loosely or tightly as you wish, and secure with rubber bands. Apply dye with a squirt bottle, taking care to either leave space between colors or to only put colors next to each other that blend well (red and yellow next to each other will create some orange overlap, for example).
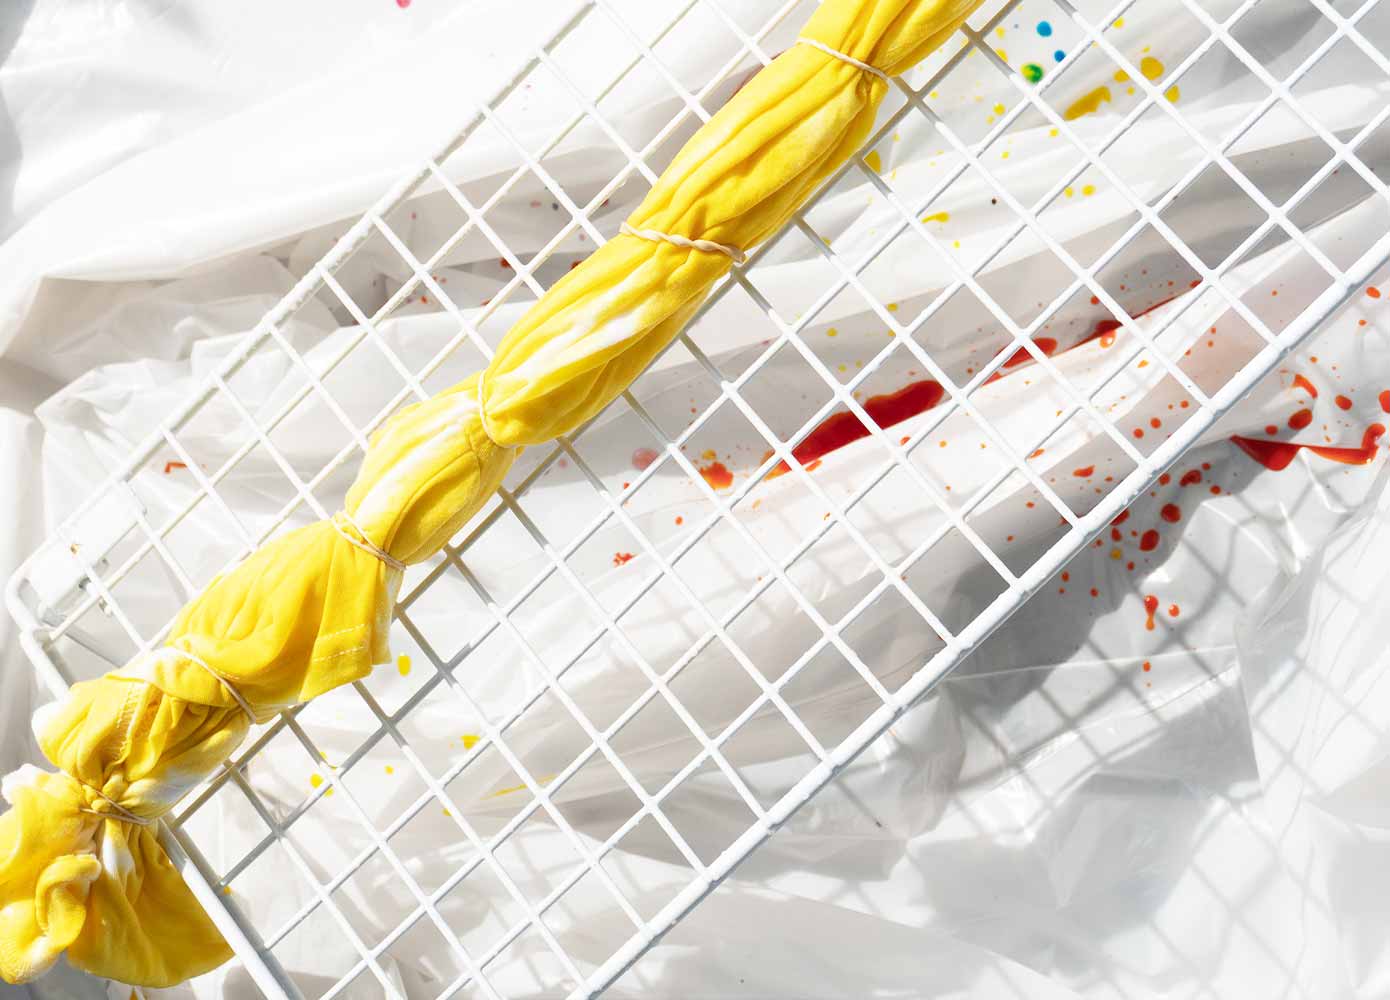
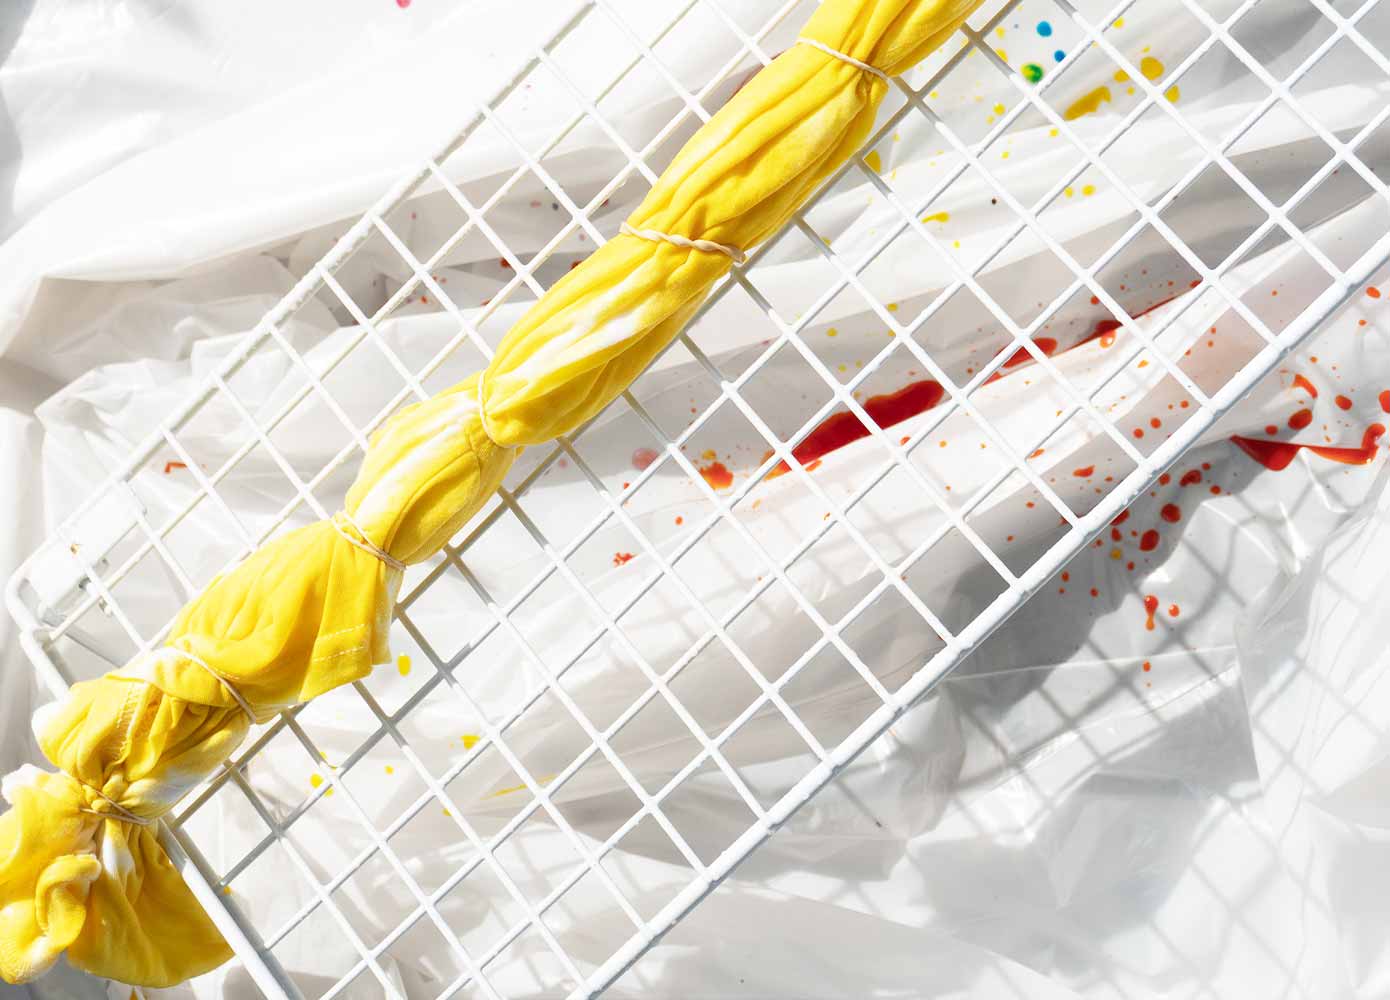
Accordion Folds
Fold your fabric like an accordion fan, in 2- to 3-inch folds, until you have a long, narrow bundle. Secure rubber hands every few inches, and then proceed with dying with squirt bottles as in the classic spiral.
