Parental Arts
Easy Painted Pumpkin Ideas
Our craftiest mom makes the case for keeping the pumpkins in one piece with easy painted pumpkin ideas perfect for kids of all ages. No knives or fire needed!
- Written By
- Sally Voyles
Now don’t get me wrong, I’m no Halloween Grinch; I'm all for Halloween decorations and easy Halloween crafts, but whoever suggested pumpkin carving as a “fun” or “family-friendly” activity has clearly never gotten a hand cramp while scooping out the flesh of a ten pound gourd. I, for one, refuse to spend another year clutching my cobwebs as I imagine the 1000+ scenarios in which a child carving a toothy gaping mouth into slippery squash could possibly go wrong. So, may I present a delightful and drama-free alternative: painted pumpkins. These no-carve pumpkin painting ideas swap the knives for paintbrushes and keep the slimy squash exactly where it belongs. Ahead, easy painted pumpkin designs along with tips and tricks for nailing this family-friendly activity.
What You Need For Your Easy Painted Pumpkin Designs
• Pumpkins (any kind of squash will do!)
• Acrylic paint
• Paint brushes
• Acrylic spray sealer (optional)
• Paint markers (optional)
• Painters tape (optional)
Here’s what you do NOT need:
• Knives
• Fire
• Upper body strength
• Burnt salty seeds posing as “snacks”
Tips for No-Carve Pumpkin Painting Ideas
• Wipe down your gourds with water and let them dry before painting to prevent any dirt from causing your paint to flake.
• Alas, your gourdeous art will not last forever. Still, you can extend their short and beautiful lives by sealing them with an easy spray acrylic sealant to protect the paint from wind and rain. Craft sealant can be found as a spray (look for brands like Krylon) or a paint (look for brands like Mod Podge), so you can apply it in the best way for you.
What Paints to Use On Painted Pumpkins
• Washable acrylic-based paints: The texture of acrylics is perfect for painted pumpkins and we love that water-based paint is easy to wash off. If you're looking for a clean, even finish paint in thin layers versus one thick layer of paint.
•Tempera: For messier, younger kids, tempera paint is even easier to wash out of clothing. Pair paint with paintbrushes in a mix of sizes and shapes.
• Spray paint: For a parent-friendly paint that covers evenly and quickly, go with spray paint.
Painted Pumpkin Ideas
Unlike jack-o-lanterns, the possibilities of easy painted pumpkins are endless. Here are a few ideas to get you started:
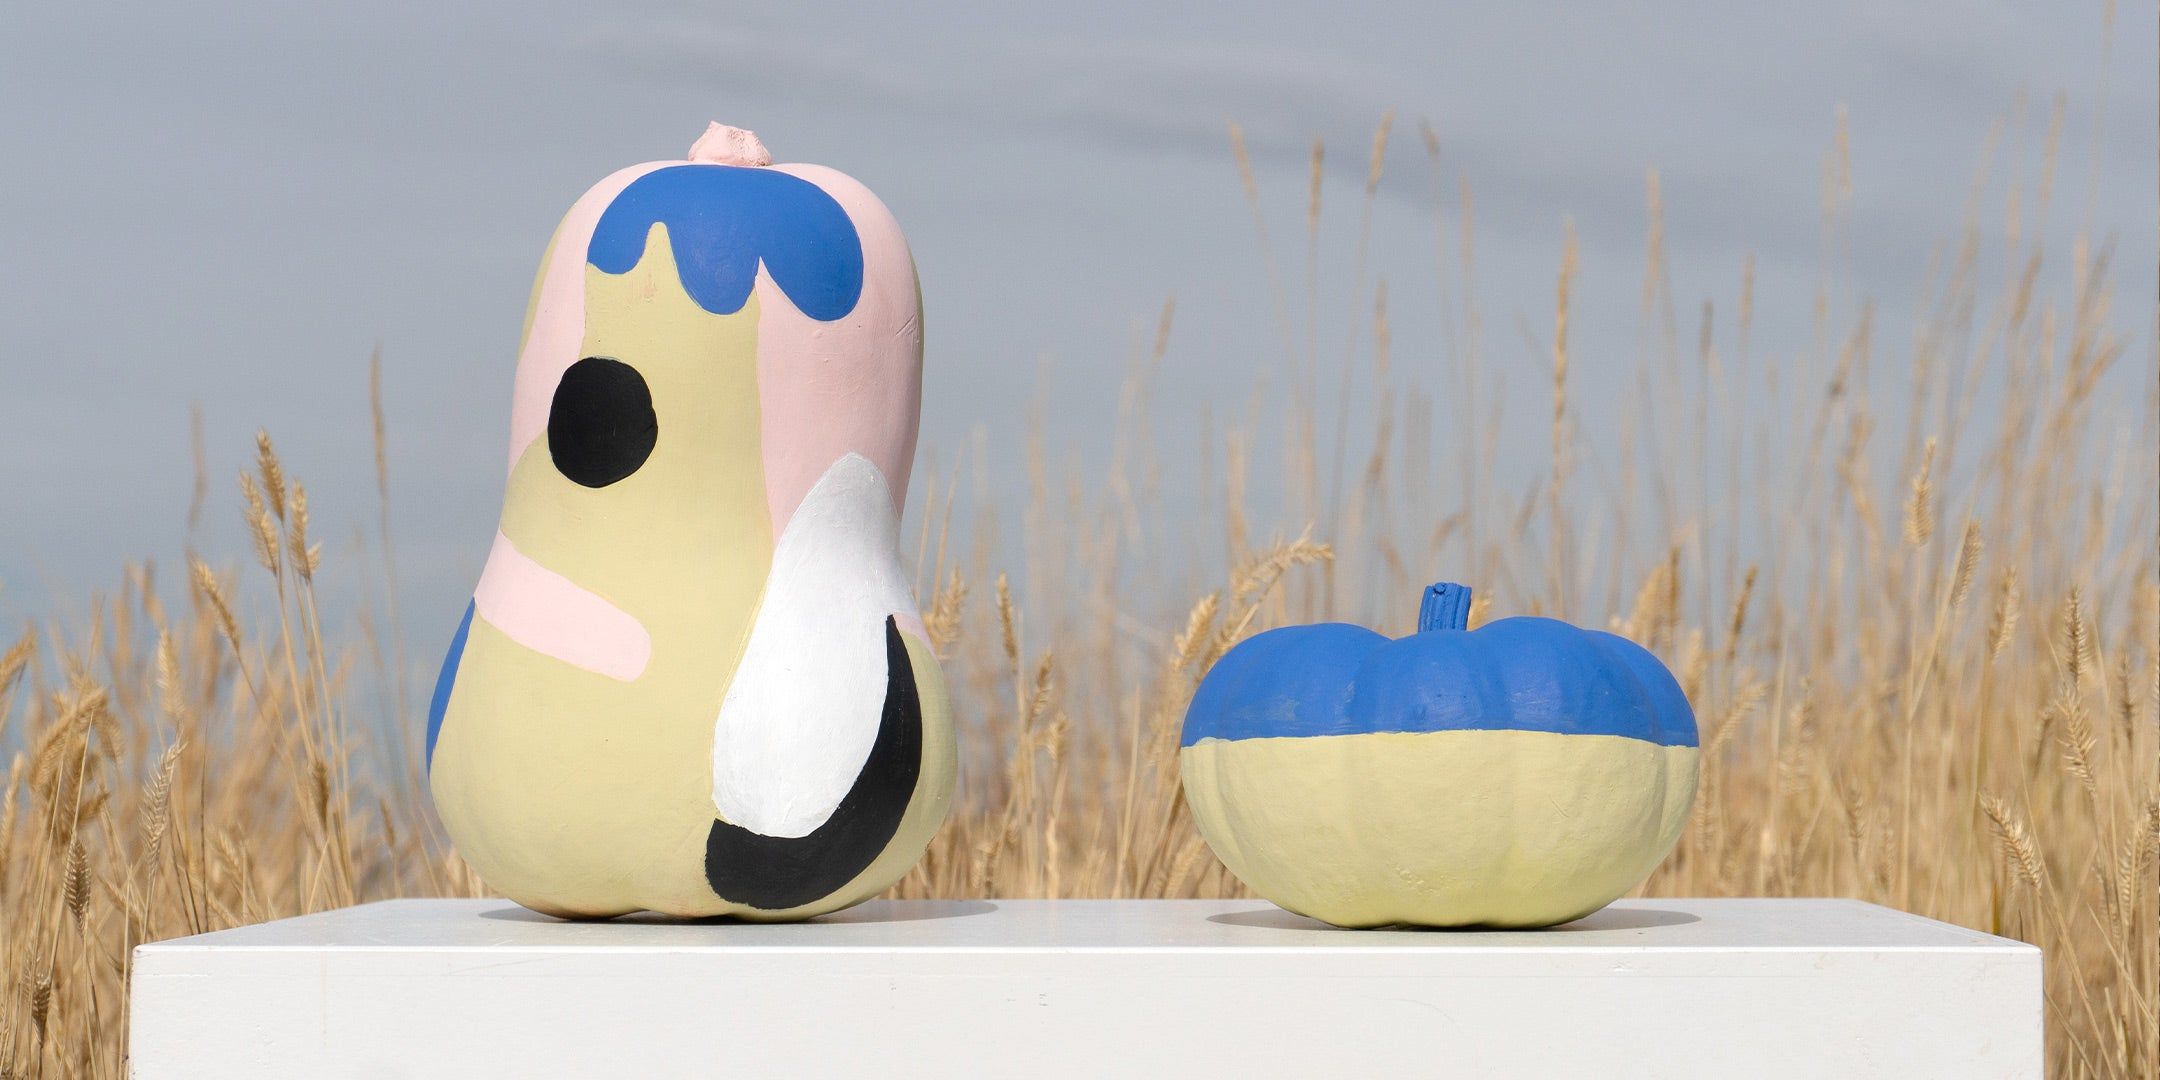
Colorblocked Painted Pumpkin Idea
Materials:
• Paint
• Painter's tape
• Large paintbrush
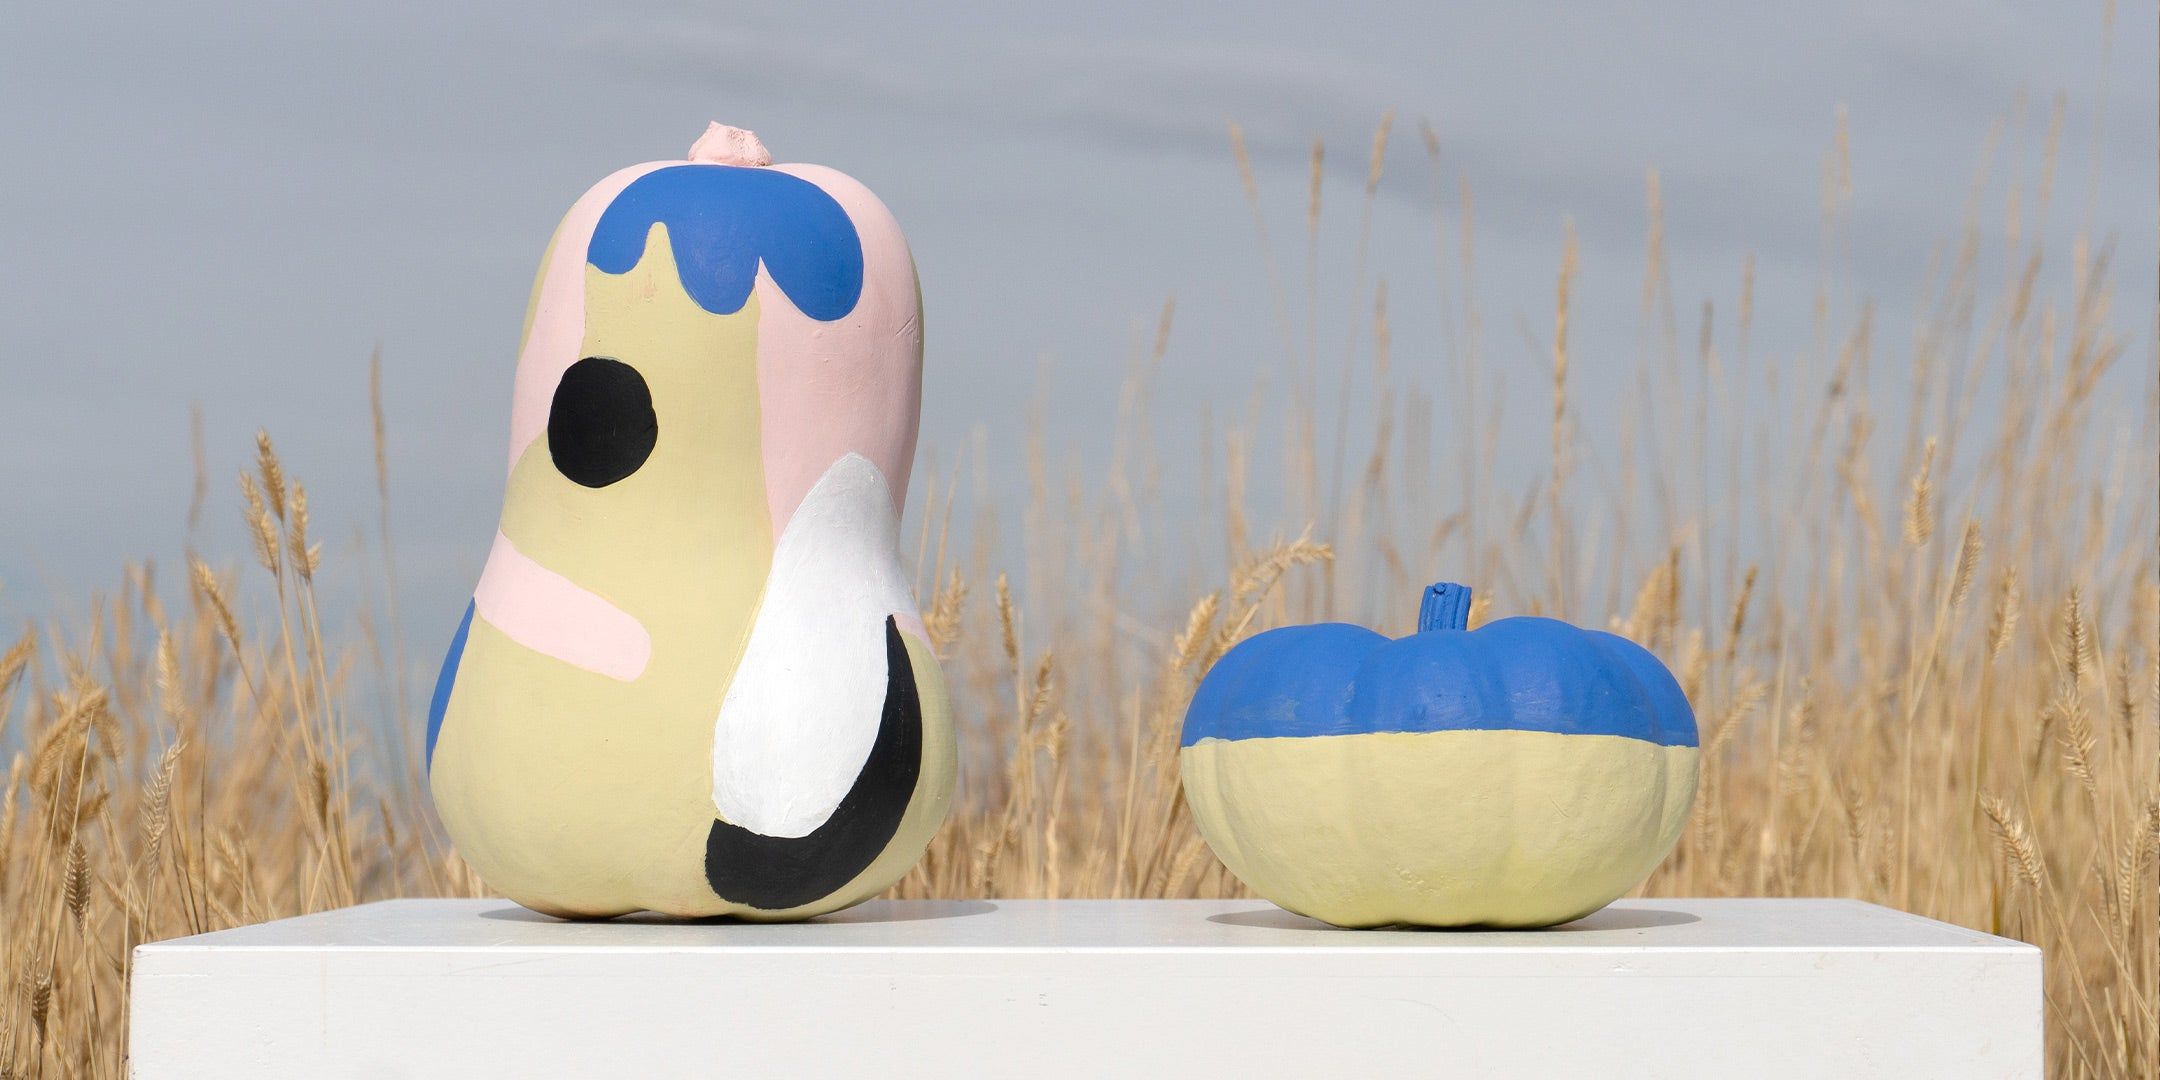
How-to: Tape out a pumpkin section and paint the space below the tape. Let dry and remove the tape. Place tape at the painted edge and paint the remaining pumpkin. Let dry and remove the painter's tape. Pair unexpected color combinations (or your local team's color) to produce this simple yet visually striking effect.
Matisse-Inspired Painted Pumpkin Idea
Materials:
• Washable acrylic paint
• Pencil
• Various paintbrushes
How-to: If you'd like to plan out your design, draw out freehand designs in wild, curvy shapes. Paint over the forms in colors you love. Use smaller brushes to touch up outlines for a clean finish. Look at books or images about Matisse and paper cut-outs for design inspiration.
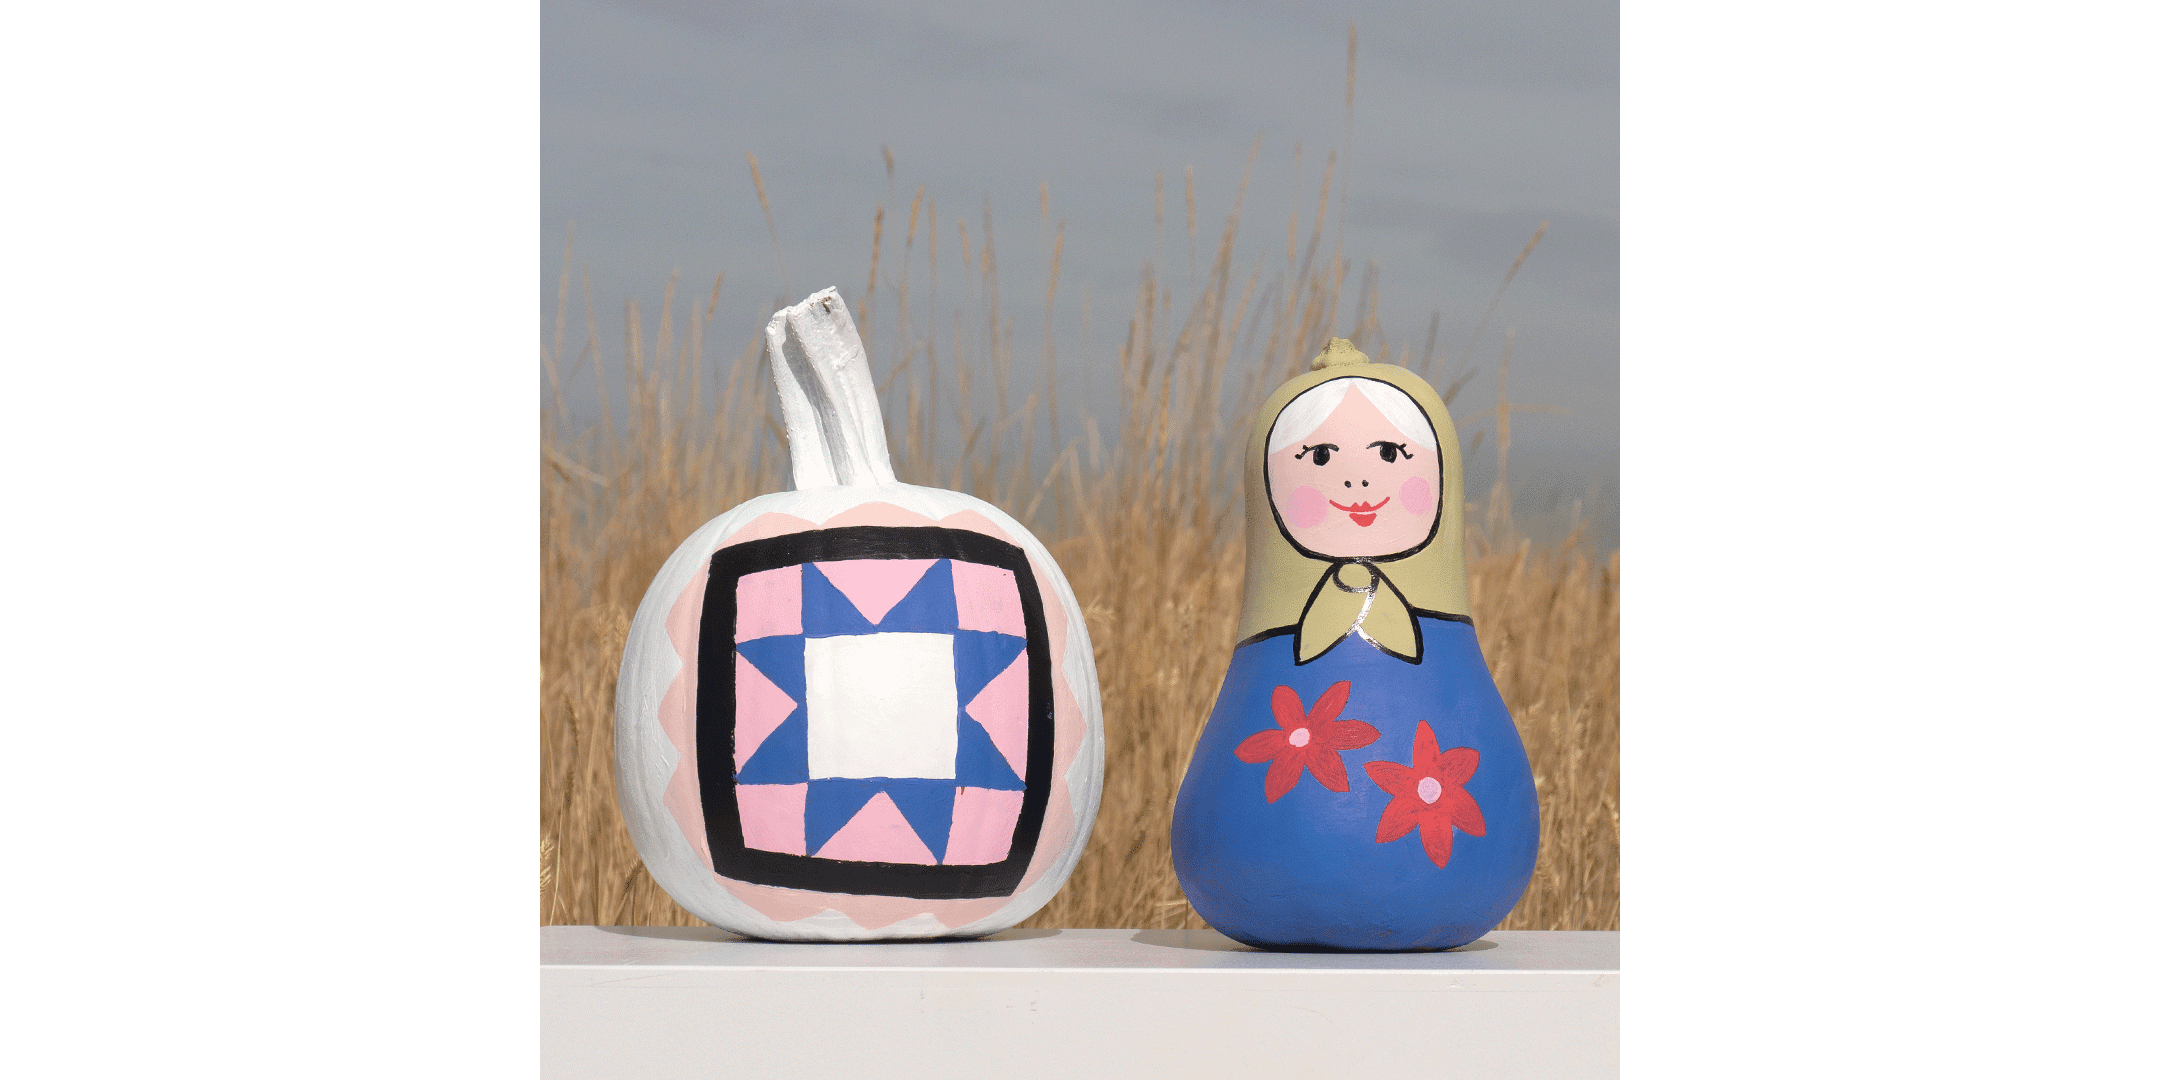
Folk Art Quilt Painted Pumpkin Idea
Materials:
•Acrylic paint
• Pencil
• Paint brushes
• White spray paint if you'd like
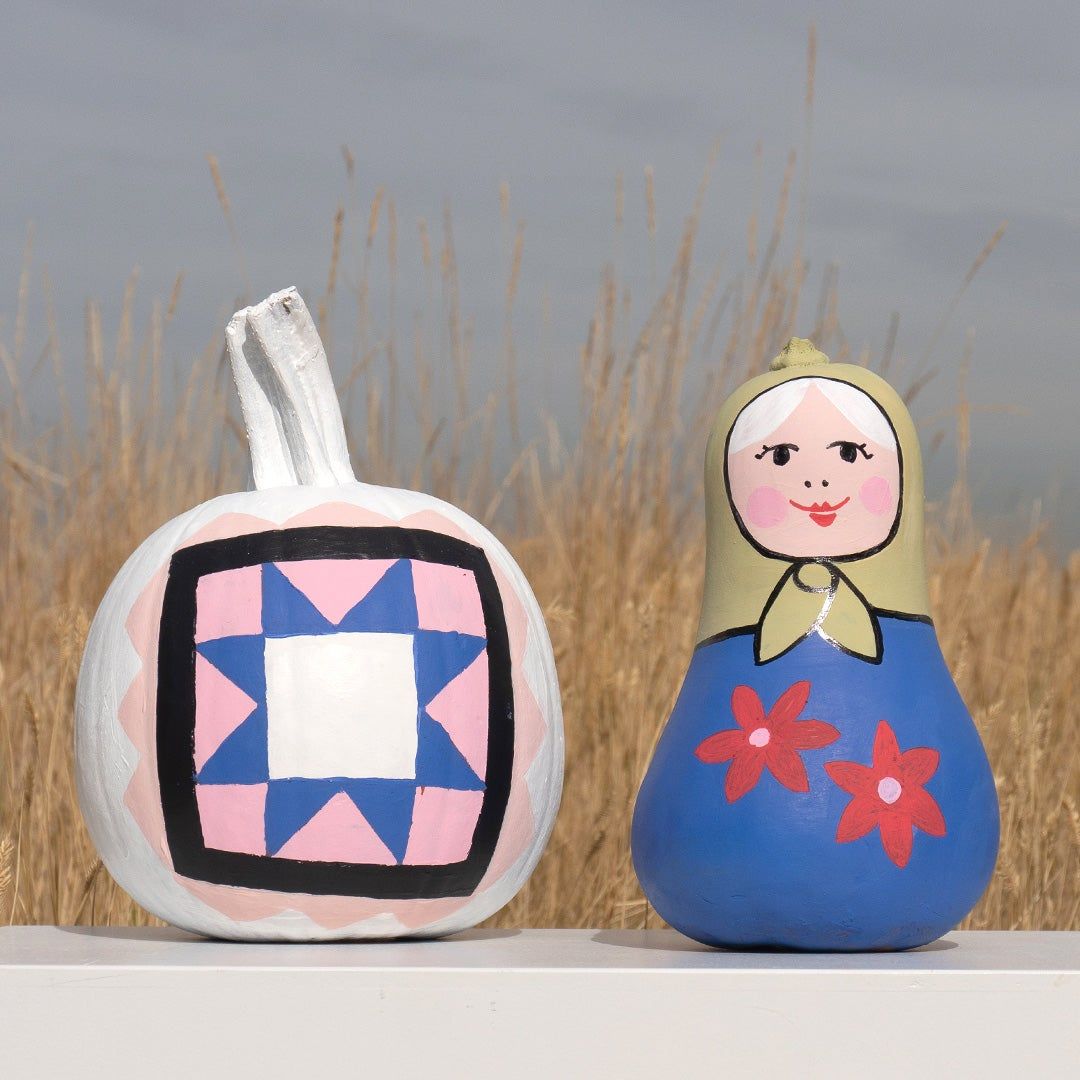
How-to: First, paint the entire pumpkin white (or any color you like) as a base. Draw your design on the front of the pumpkin with a pencil or grease pencil. Look at books or photos of traditional American quilts (like Gee's Bend or Amish quilt patterns) for inspiration to create your own design. Finally, paint within the lines you've drawn with paint brushes.
Babushka Painted Pumpkin Idea
Materials:
•Acrylic paint
• Pencil, brush
• A gourd (try a butternut squash!)
How-to: Paint the bottom two-thirds of the squash blue, then the remaining portion of the squash tan to create the head scarf. Draw an oval for the face and paint the babushka's face. Add flowers or fun patterns on her "dress" and scarf.
Folk Art Quilt Painted Pumpkin Idea
Materials:
• Acrylic paint
• Pencil
• Paintbrushes
• White spray paint if you'd like
How-to: First, paint the entire pumpkin white or a color you like as a base. Draw your design on the front of the pumpkin with a pencil. Look at books or photos of traditional American quilts (like Gee's Bend or Amish quilt patterns) for inspiration. Paint within the lines you've drawn with small paint brushes.
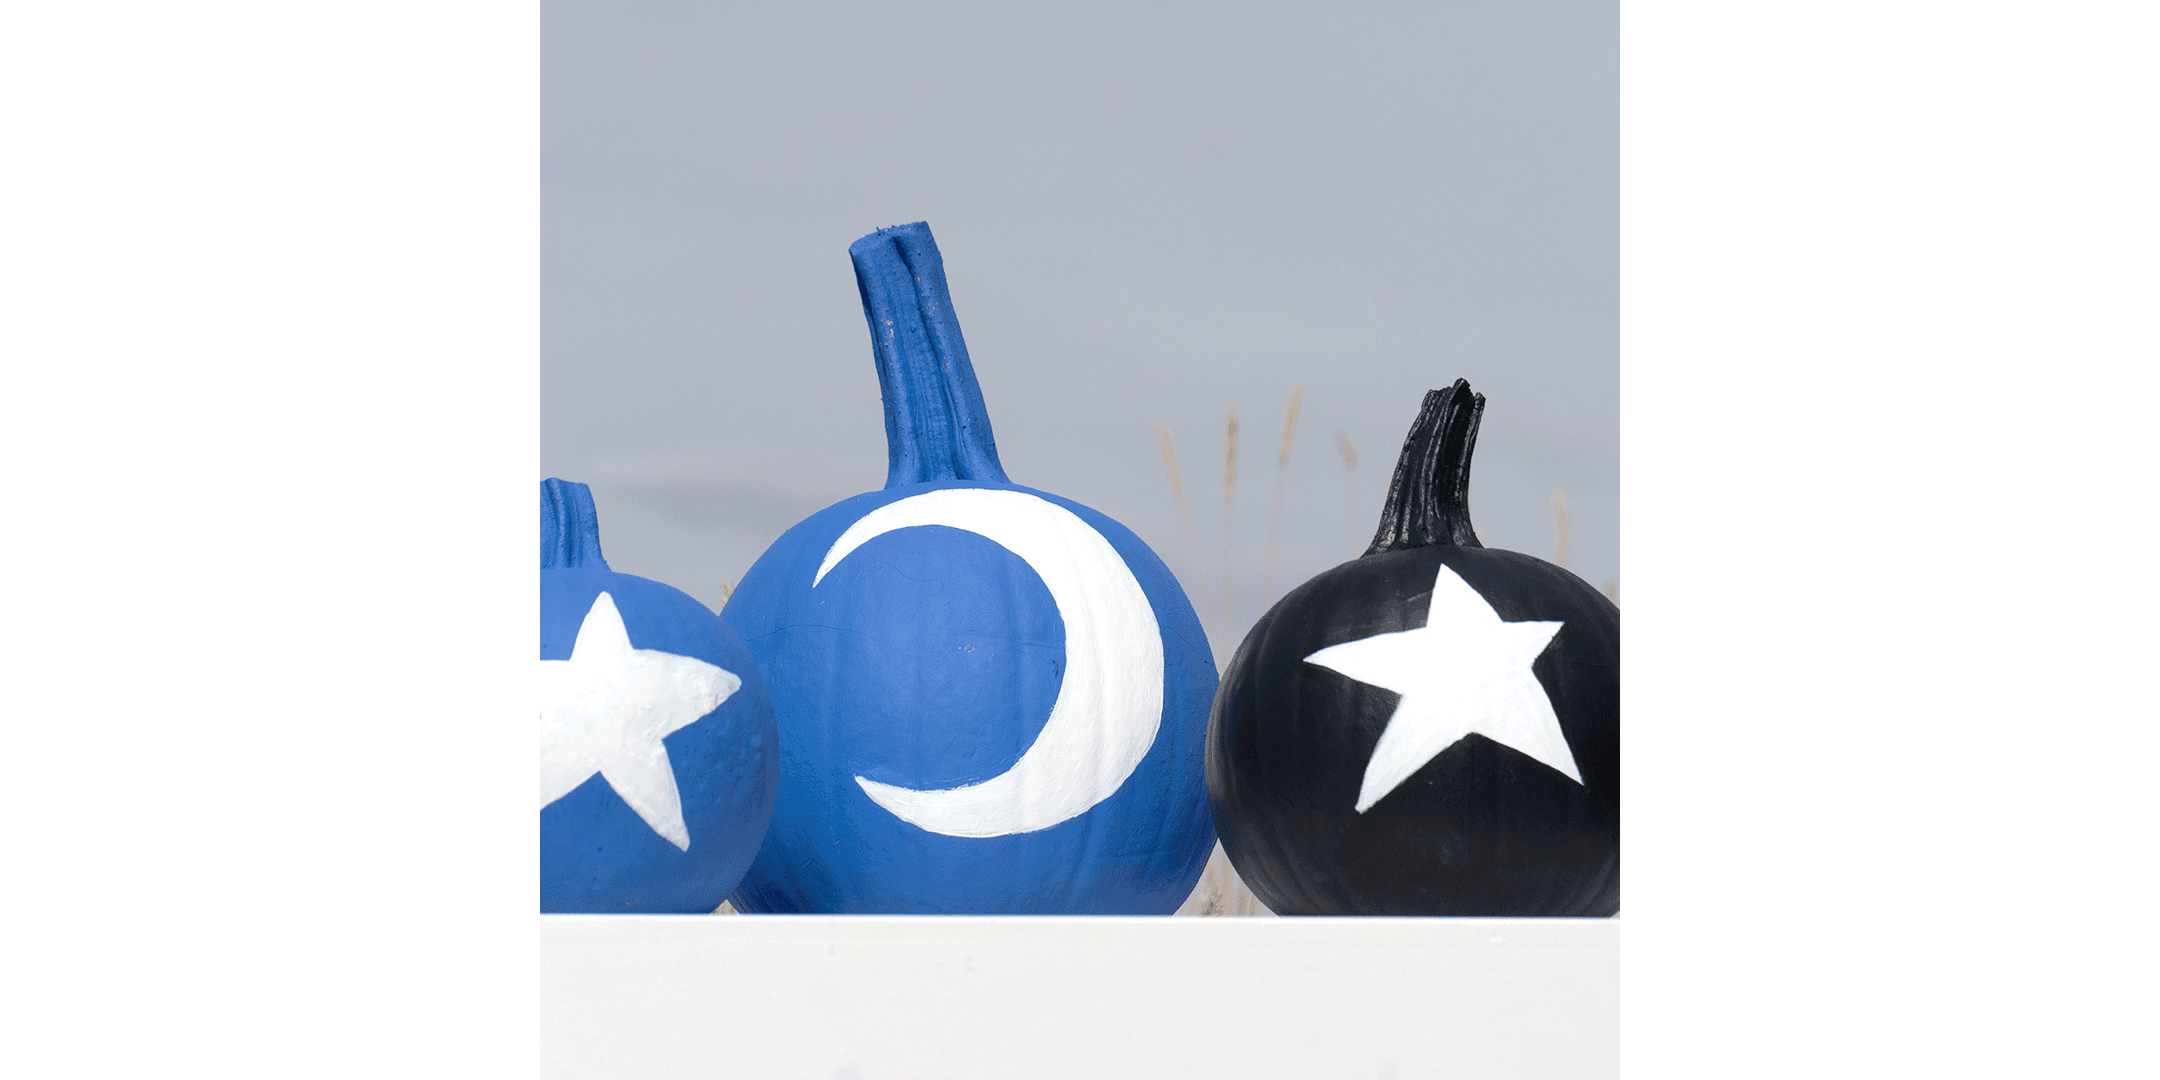
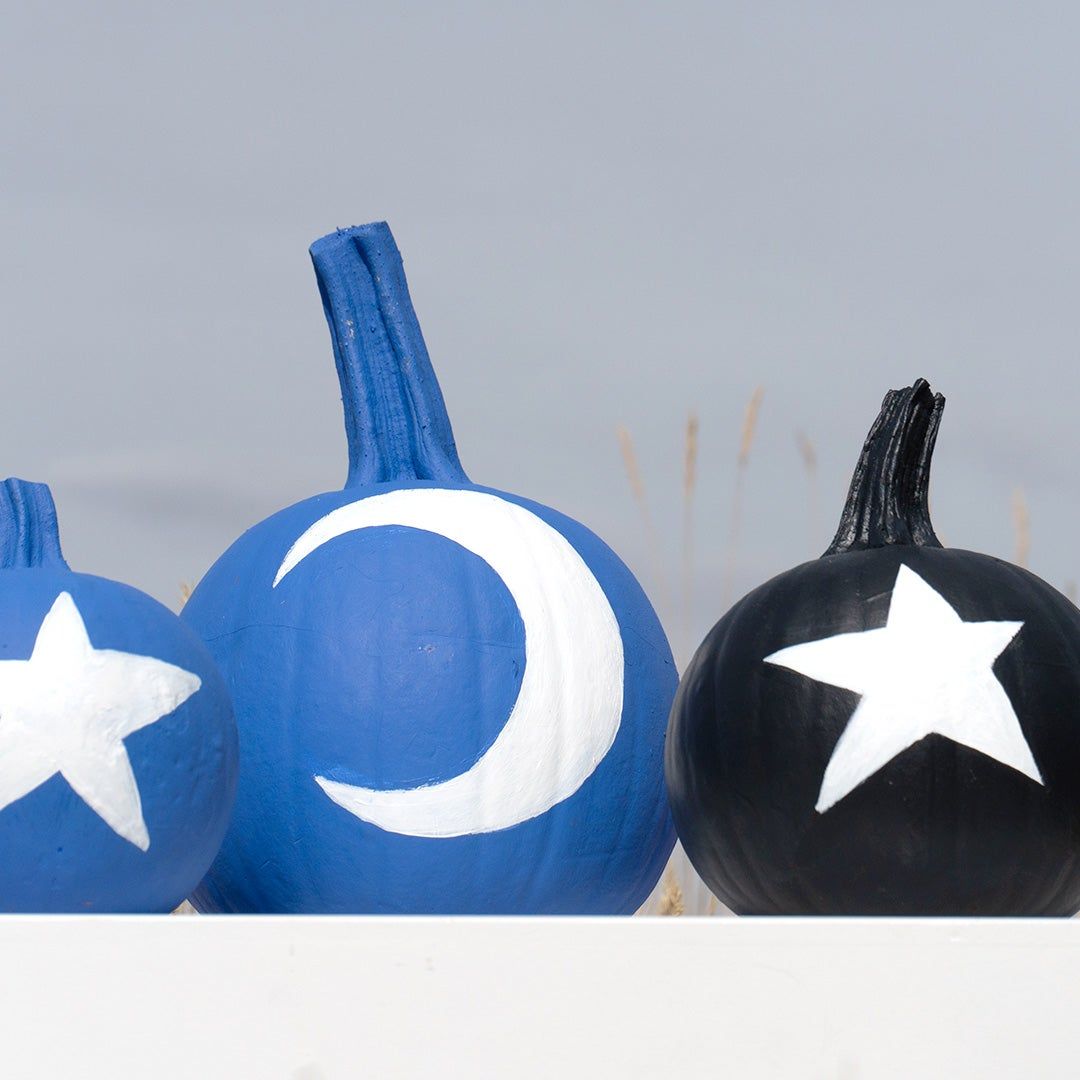
Starry Night Painted Pumpkin Idea
Materials:
•Glow-in-the-dark paint
• Acrylic paint in deep blues or black(or use spray paint)
• Paint brushes
How-to: Paint the entire pumpkin in shades of blue or black using acrylic paint and a big brush or spray paint. Paint a moon, star, constellation, or other celestial objects (is that a UFO?) in the center of a darkly colored pumpkin. These create a slightly spooky vibe en masse–get the entire family involved to create a celestial installation on your porch.
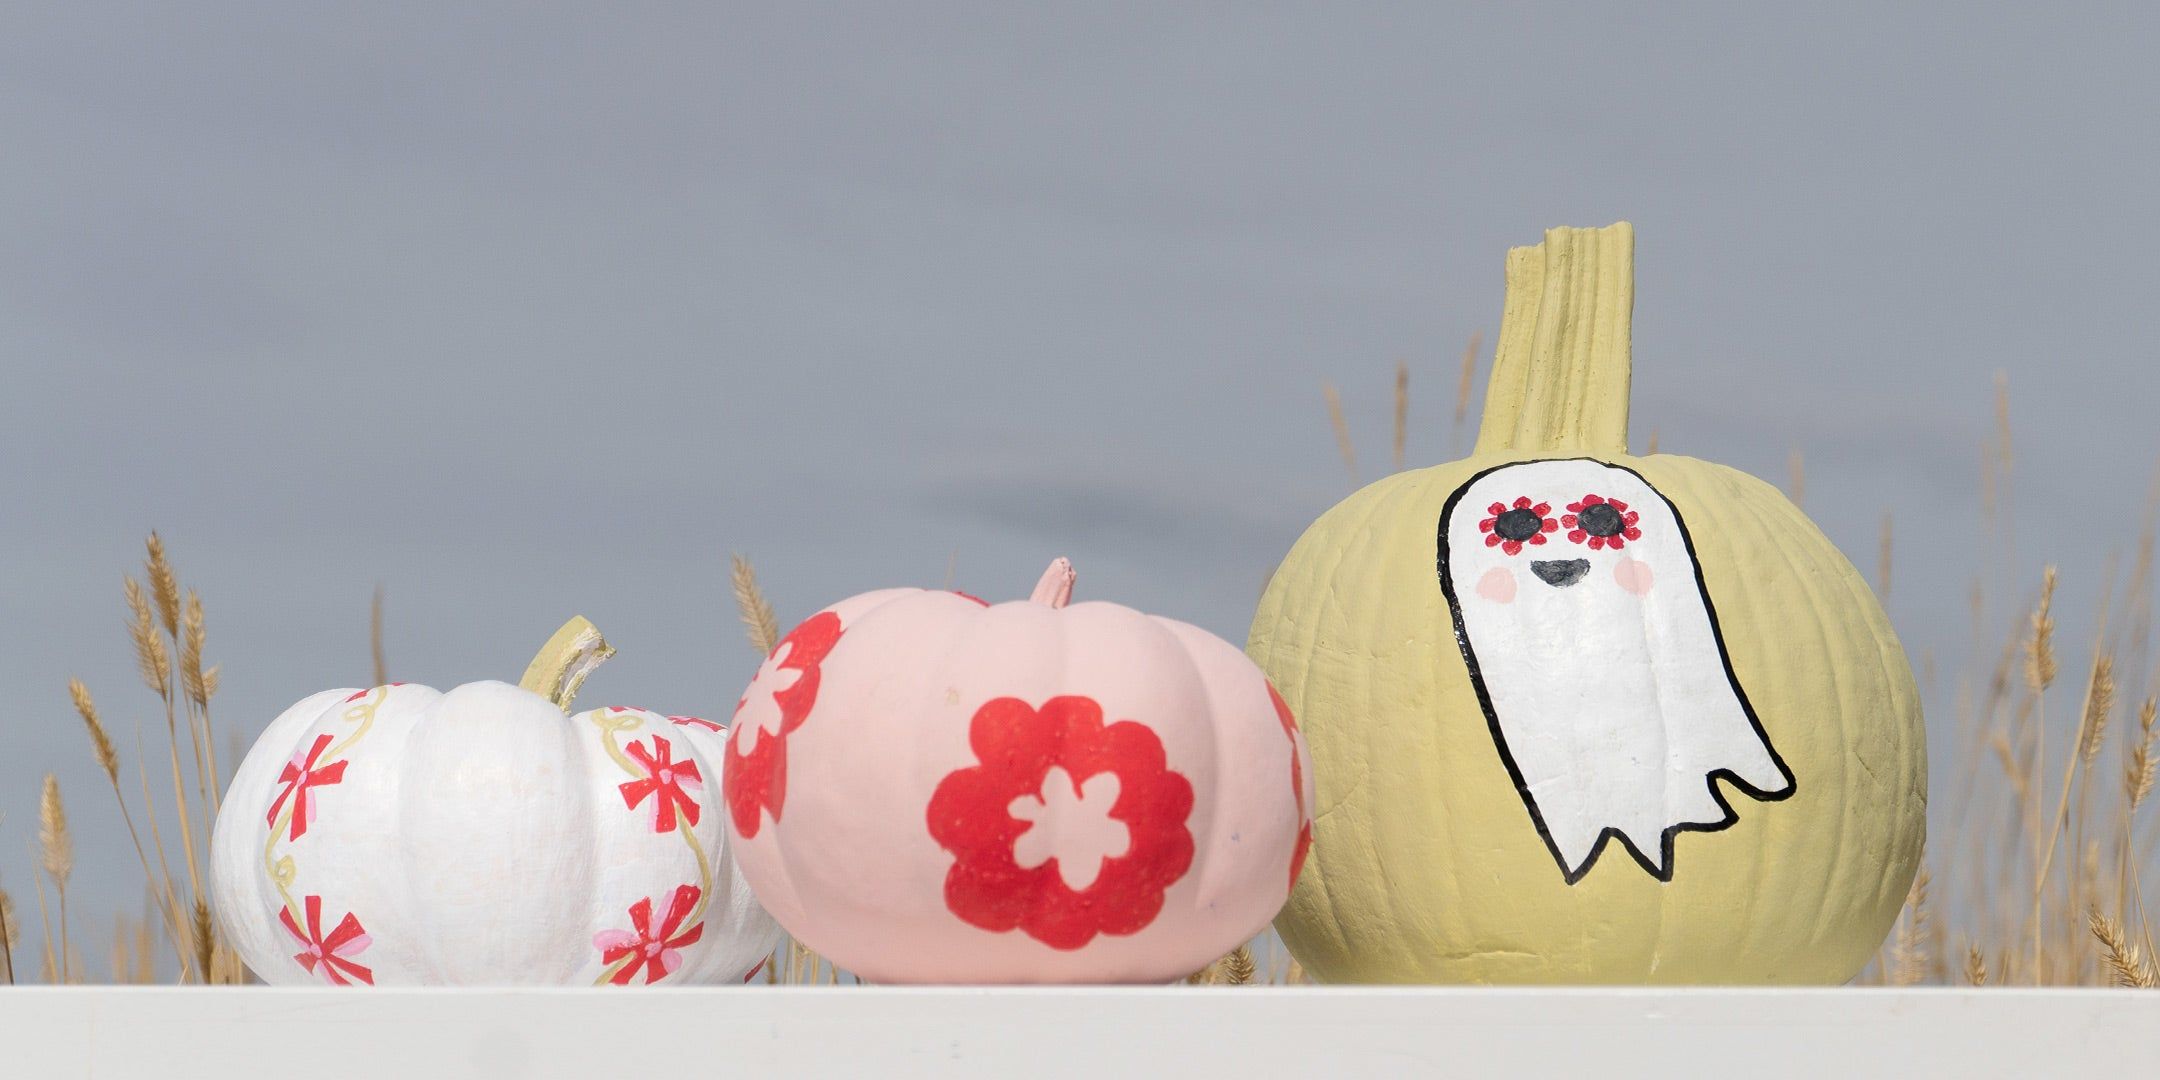
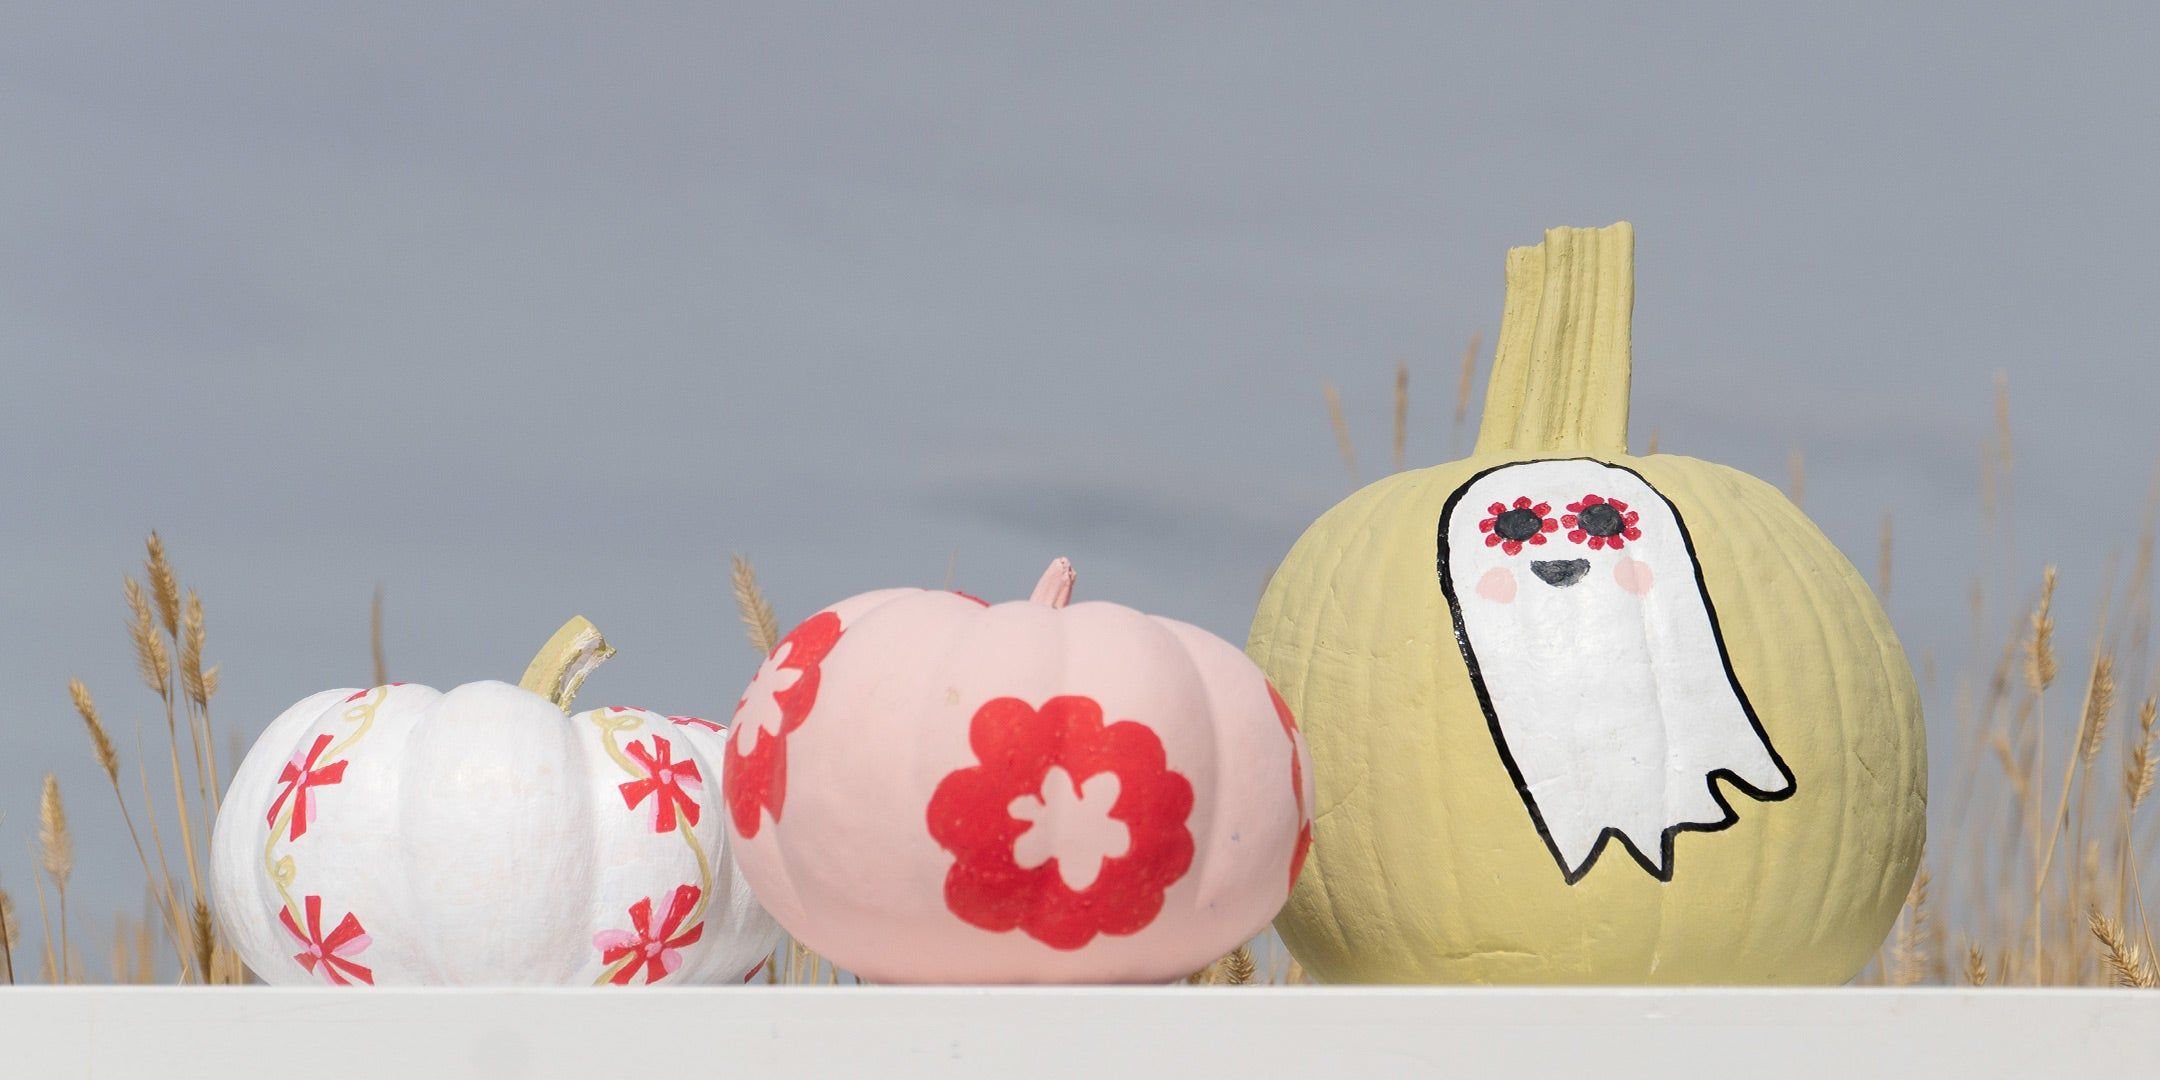
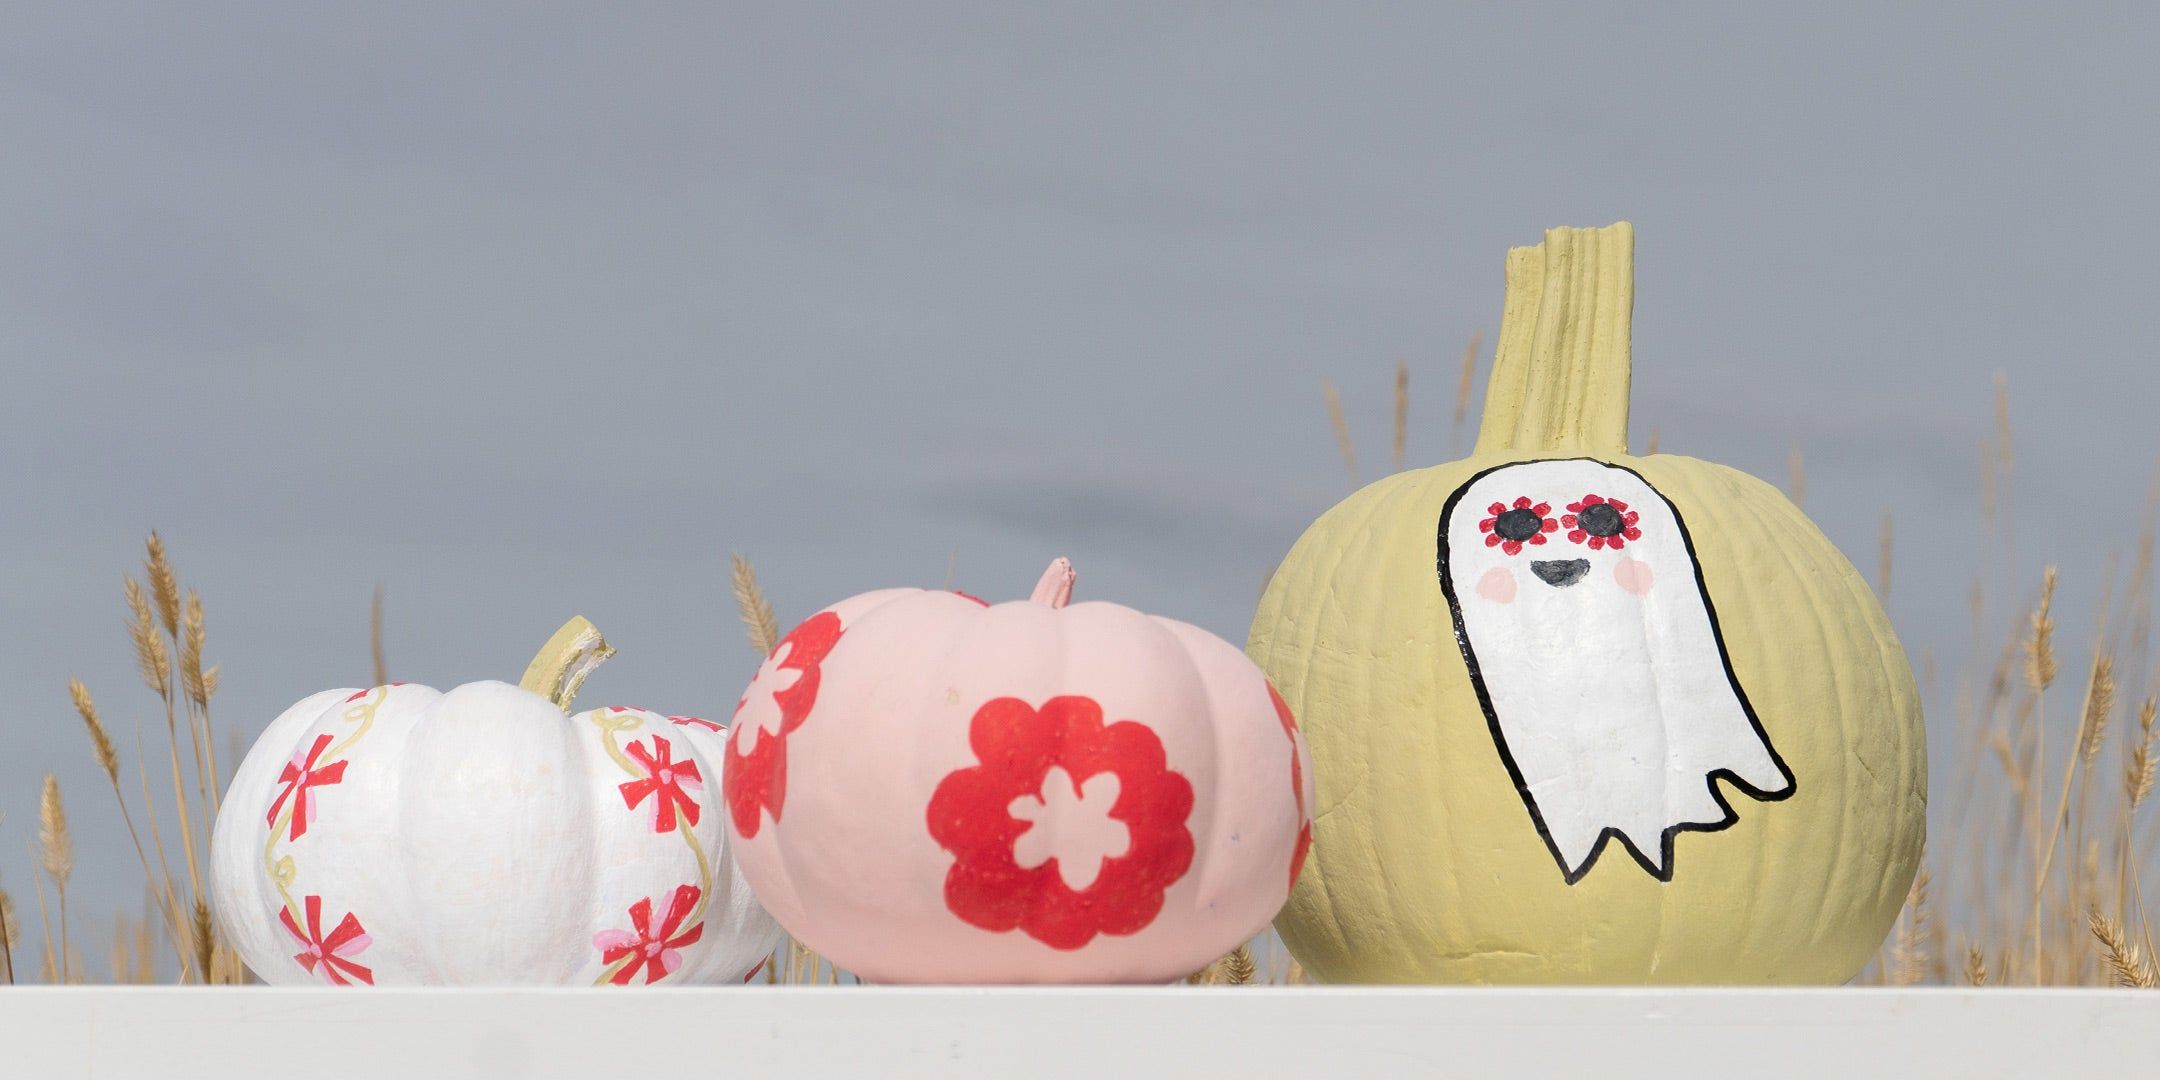
Floral Painted Pumkins: Give the humble country squash a new makeover with some fresh floral designs. We could all use a little extra beauty and levity. Try oversize blooms or wallpaper-inspired floral stripes. Create a fall floral stoop with a mix of pumpkins in similar colors and scales.
Ghost Painted Pumpkin: Paint the entire pumpkin and add your own friendly ghost with wonderfully weird red floral sunglasses. Try it with a green or taupe pumpkin and skip painting the background.
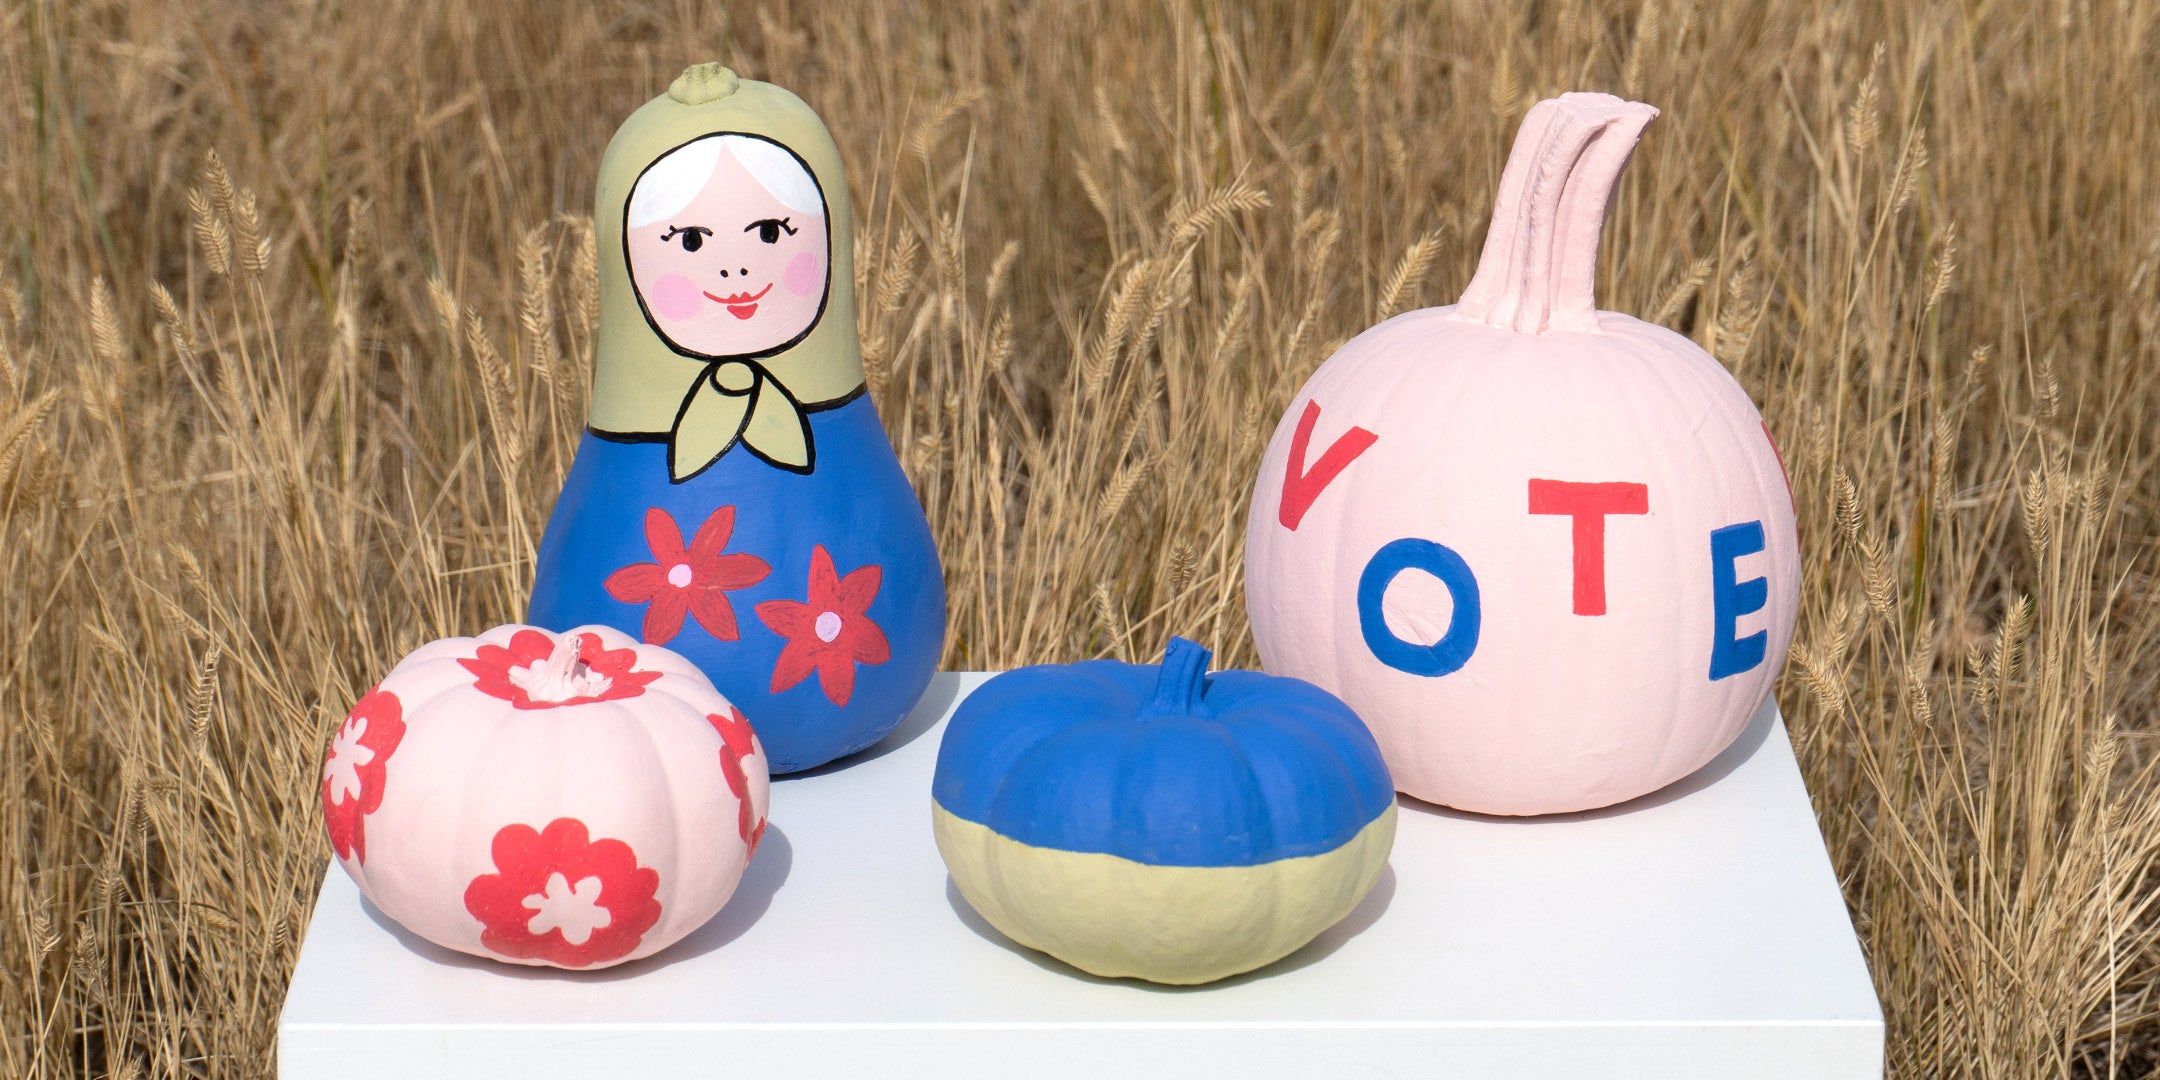
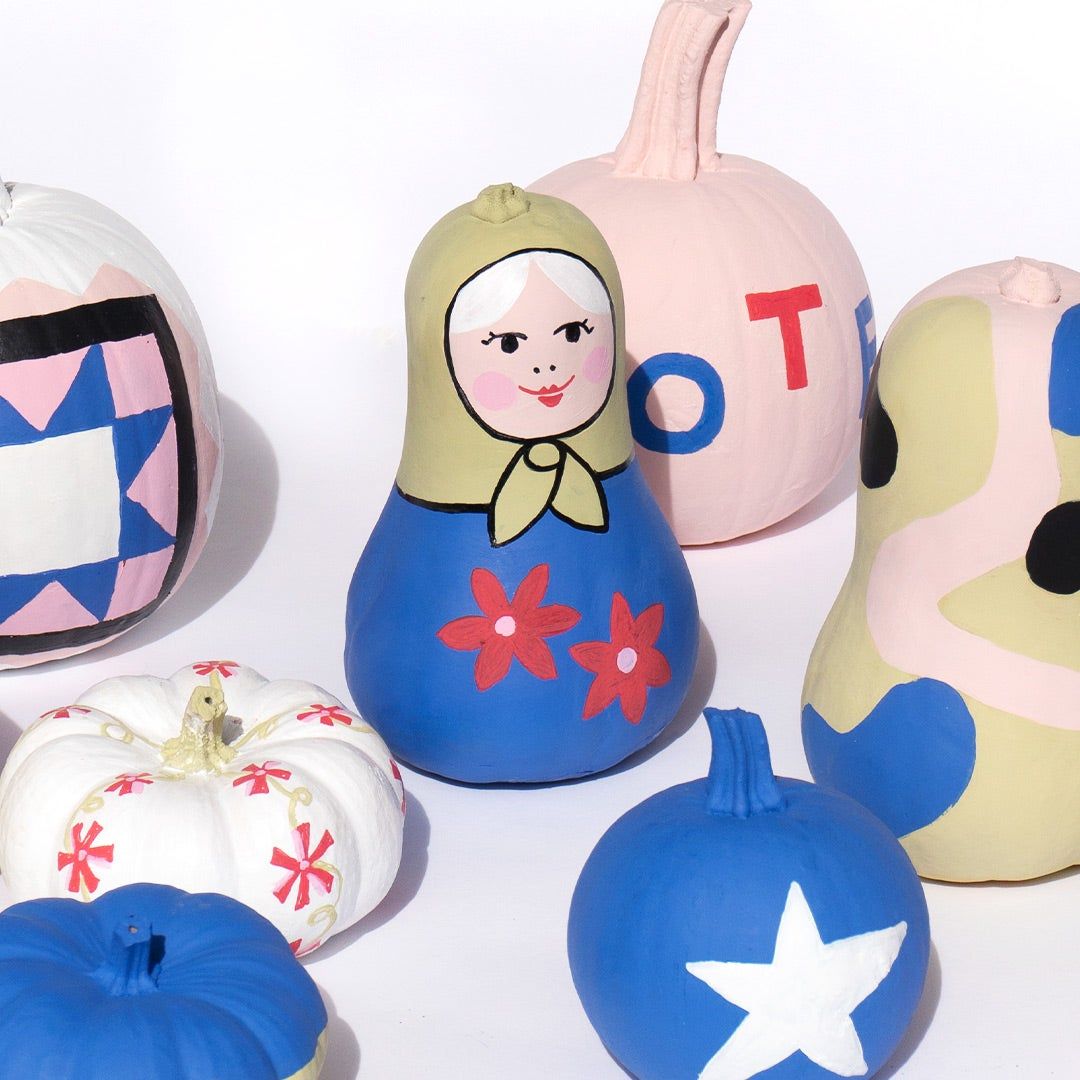
Vote Slogan Painted: We all seem to have a lot to say this year. Why not get your message across with painted words. Want to remind people of your favorite cause? Just want to say hello from the other side? Paint it on a pumpkin! Just please, not another Facebook post.
Printable Painted Pumpkin Designs
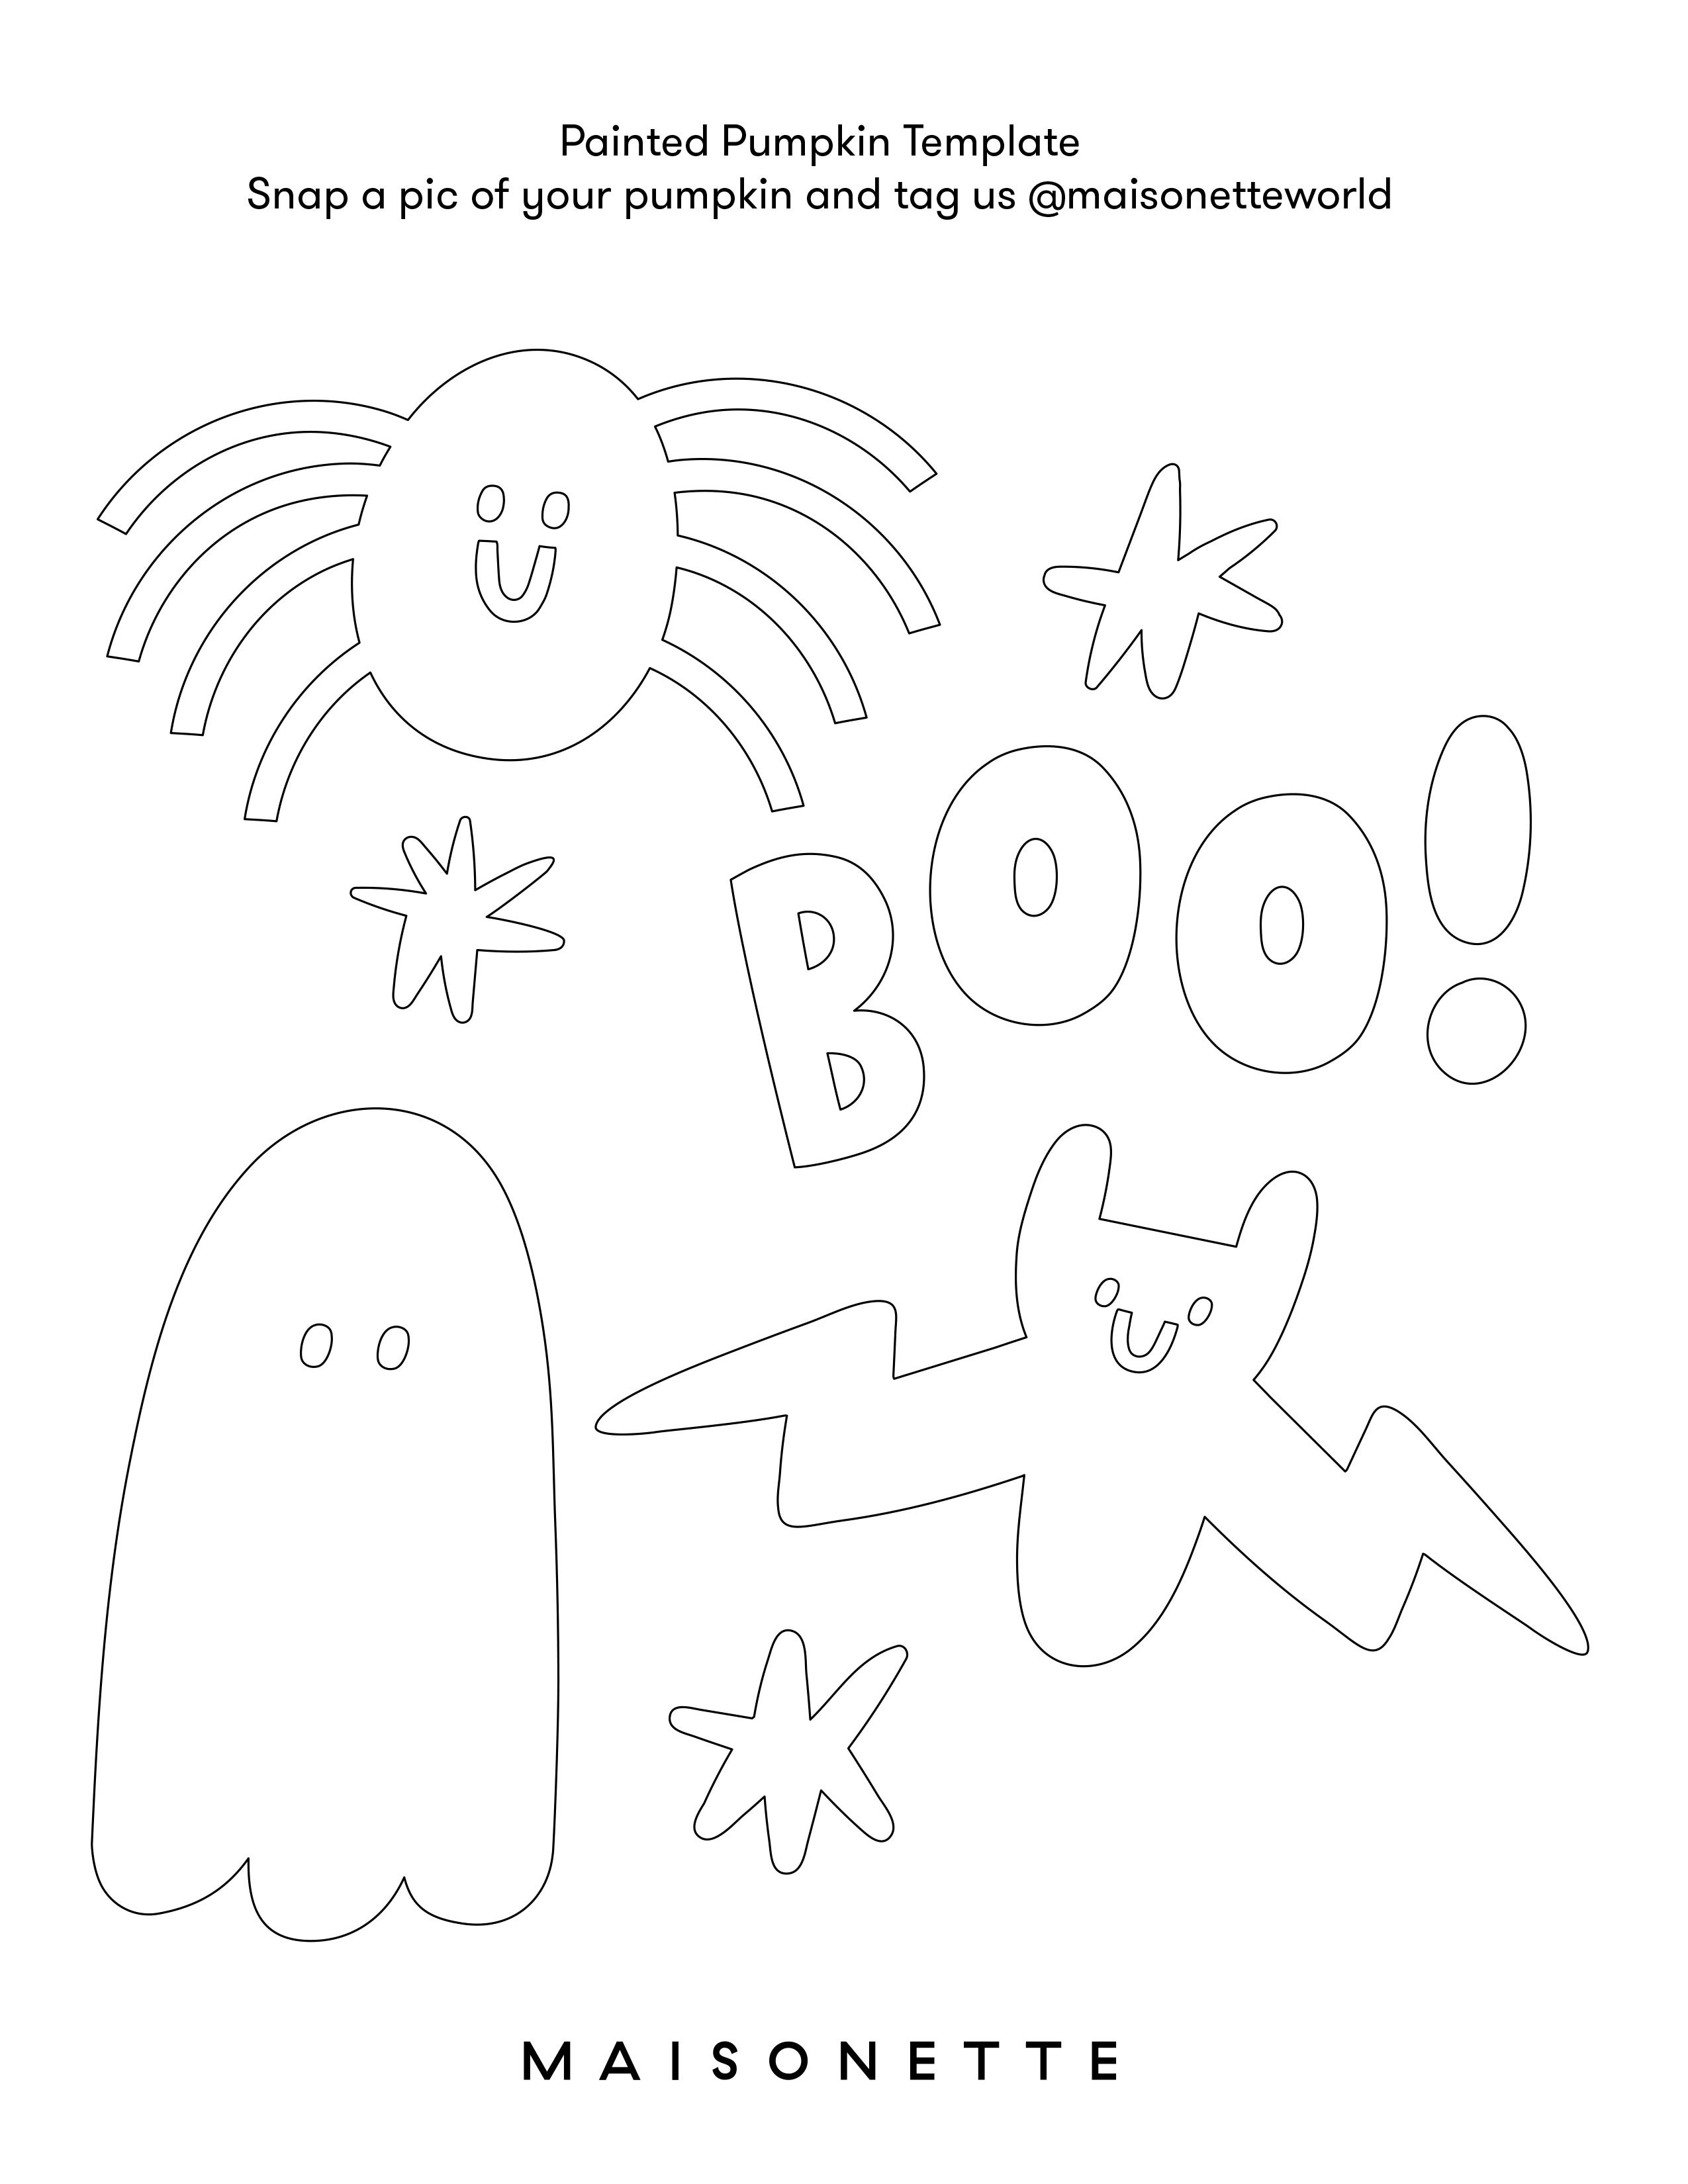
For the easiest painted pumpkin ideas, use our printable painted pumpkin designs for an easy no-carve way to make Halloween magical, even for least crafty among us. We've included a friendly spider, ghost, and bat design. Print, cut, and trace onto a pumpkin with a pencil or grease pencil. Fill in the pencil lines with paint. We love the idea of using several around a pumpkin to create one very cute pumpkin.
