Holiday Spectacular
DIY Personalized Felting
Step 1: Gather Your Supplies:
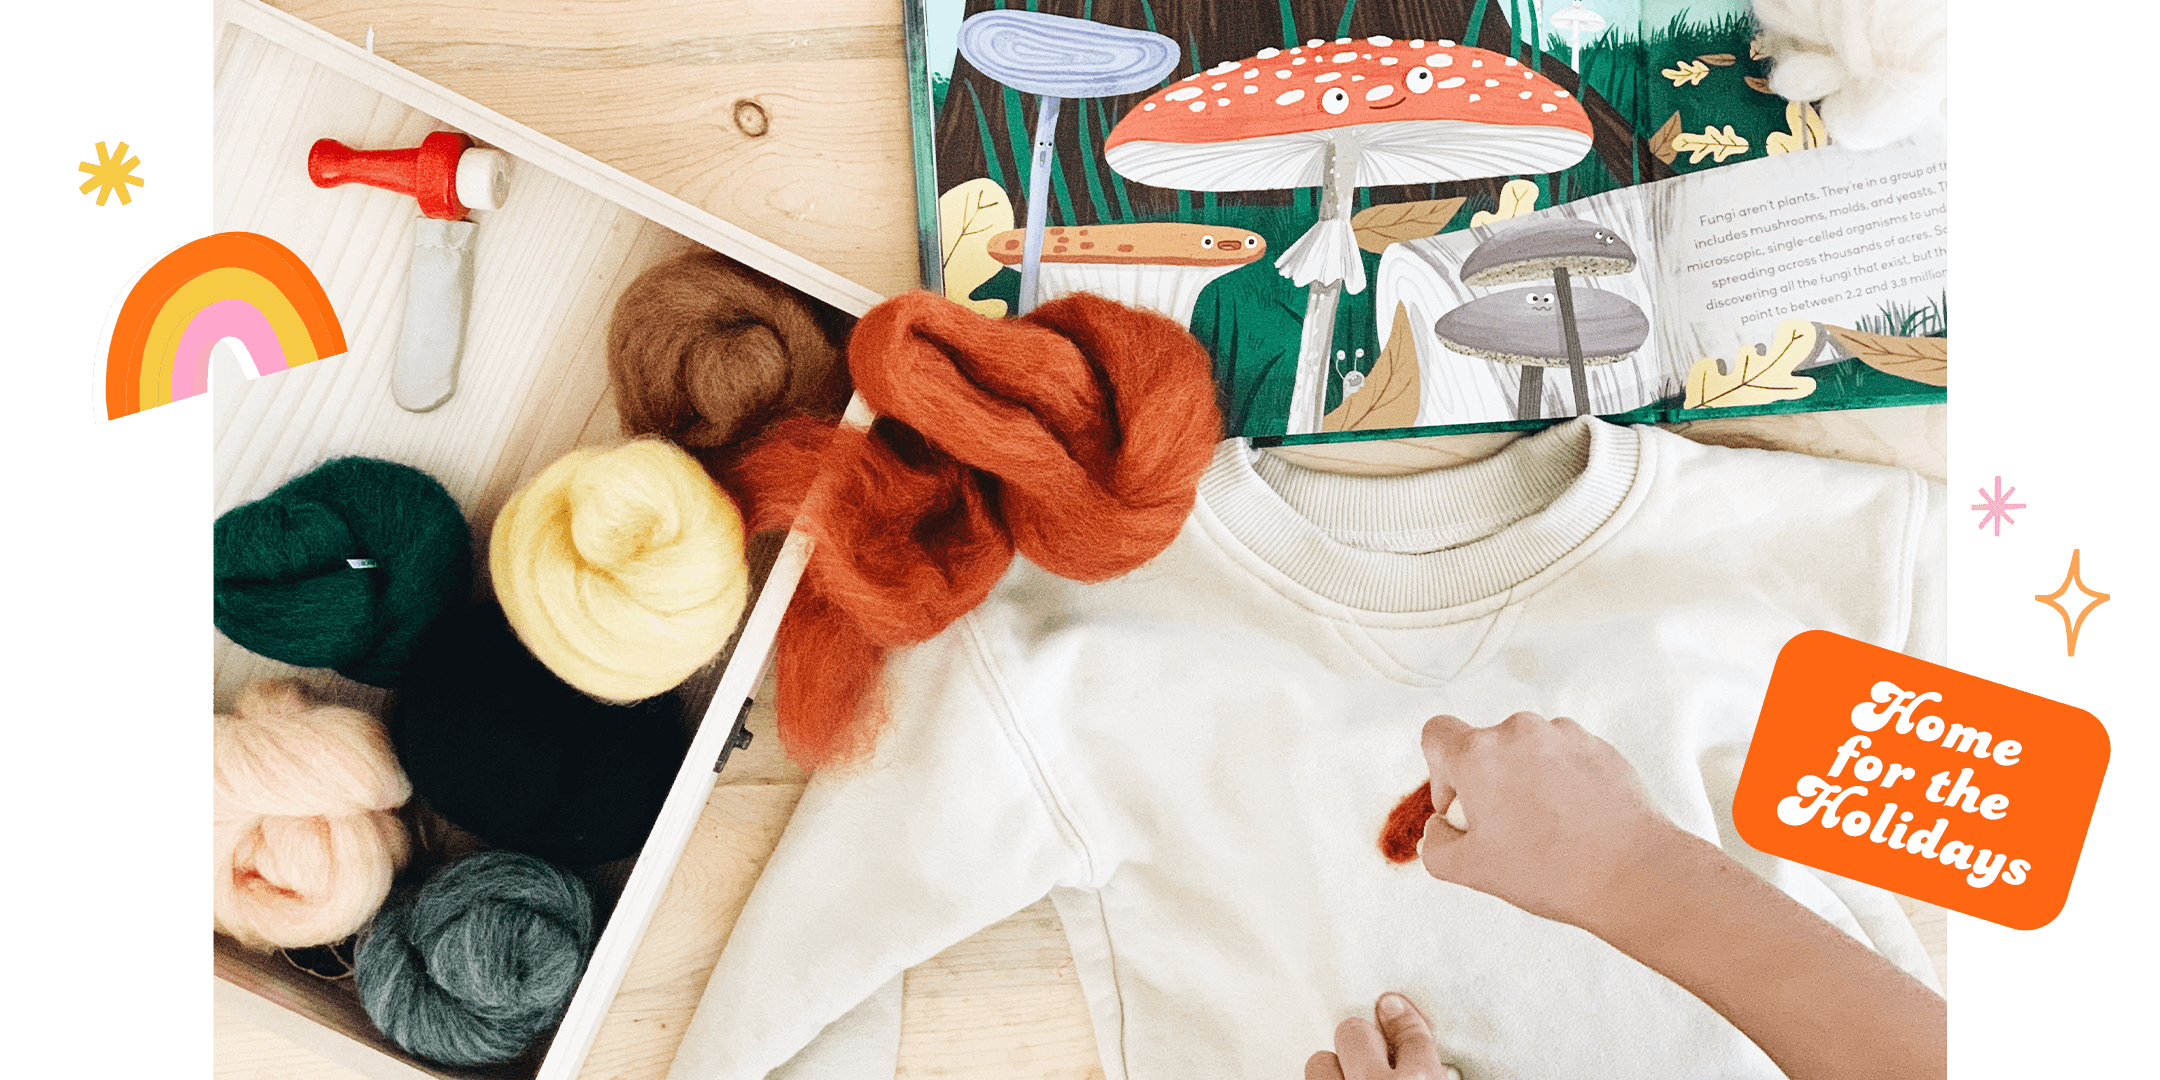
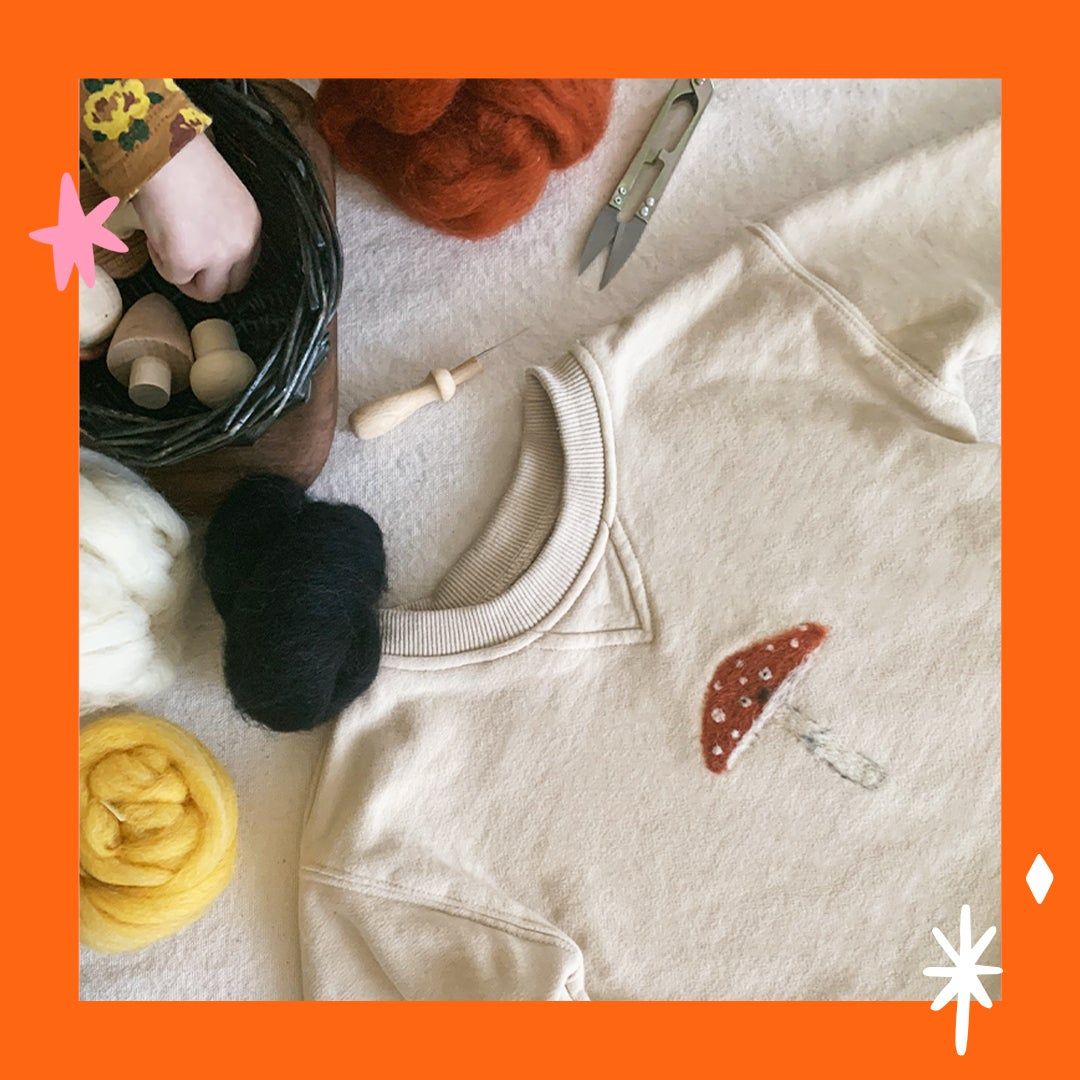
—a felting needle (plus the holder/handle)
—different colors of wool roving for whatever design you choose (Harrison is learning about mushrooms and other fungi, so he chose red, cream, and black with a little grey for detailing.)
—a foam felting block to put inside the sweatshirt so the felt doesn't go through the other side
You can find everything by supporting your local craft or sewing shop. I got my whole kit from Etsy and put it in an old repurposed Christy Dawn wooden dress box.

Step 2: Make Your Shape
Take a bit of the red roving and shape it vaguely into the cap of the mushroom and place it in the desired spot on your garment. Harrison chose the middle. (Be sure to shape it into a bigger size than you want because it shrinks down during felting).
Step 3: Now Refine It
Poke the needle over and over through the top layer of your chosen garment into the foam block, shaping it more and more with the needle as you go.

Step 4: Add Details
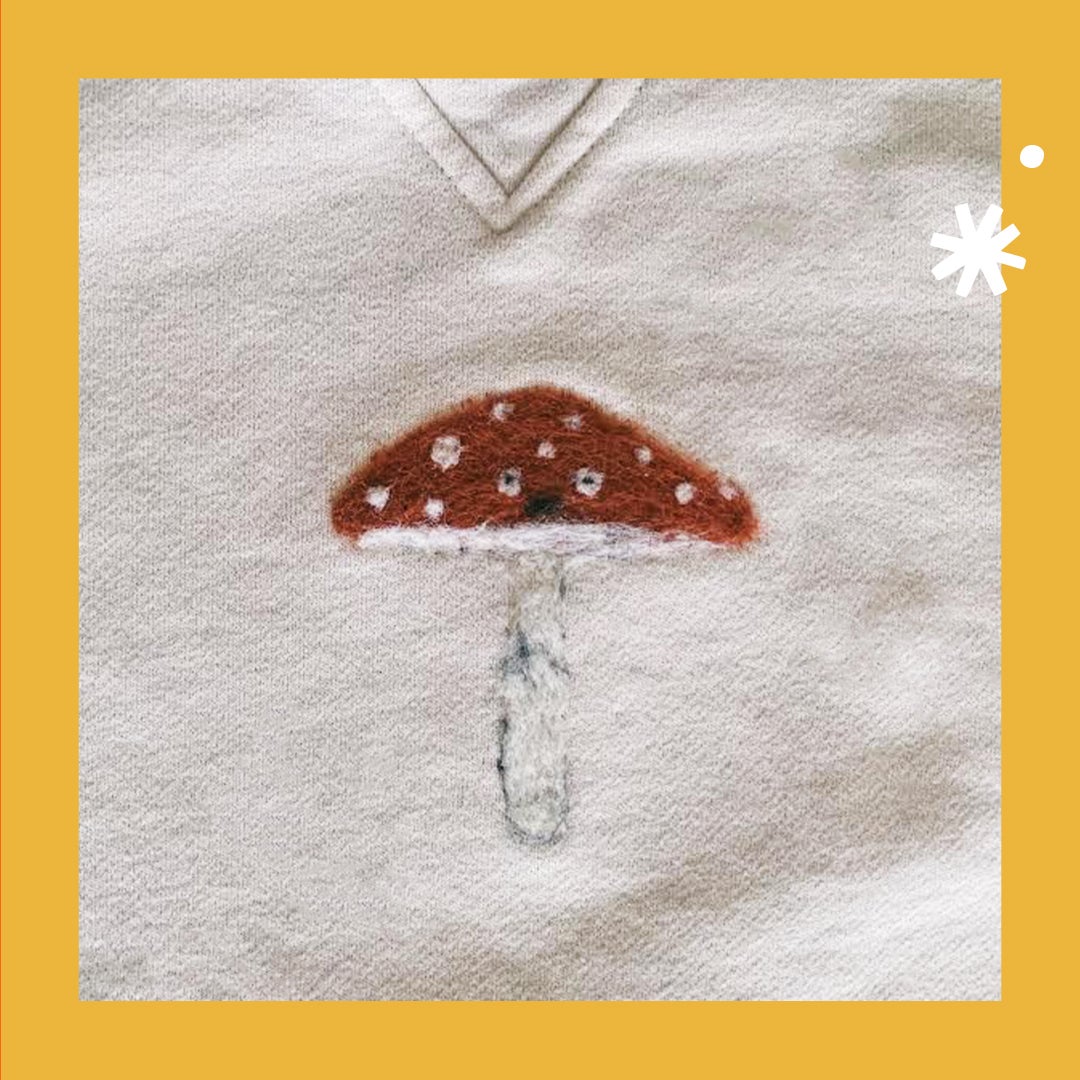
Add on details like the white spots and the stalk and the ring around the stalk, etc. It’s a long process, but mostly repetitive so it’s fairly easy to do— and addicting!
Make sure not to let your child out of your sight, and a big tip is to tell them not to stab too hard or too deep (he broke two of my needles that way!). Harrison is almost 5 and very careful, but if you feel like your child can’t quite handle the needle yet, they can still choose the design and color and placement.
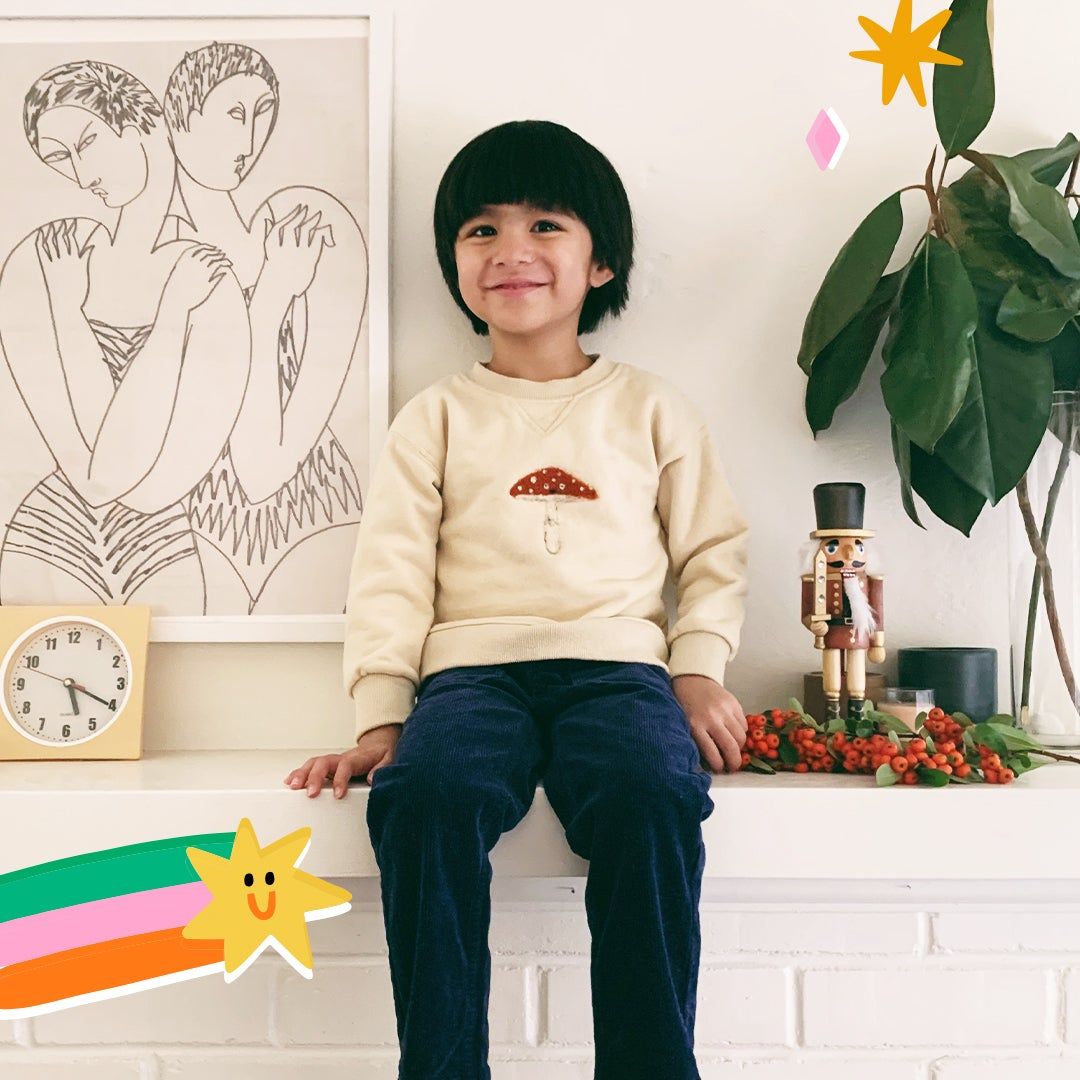
And there you have it! A groovy little mushroom to personalize a gift for your little one or anyone on your holiday list.
